Invoices
Access the Invoices section under Reports and Invoices --> Invoices. Invoices show fees paid to Splitit.
Selecting Invoices
There are several ways you can select the invoices you'd like to see. You can use any of these options alone or in combination (just make sure to click Search at right when you are finished adding all of your parameters).
- If you have multiple merchants, set the merchants you’d like to see results for at the upper left:
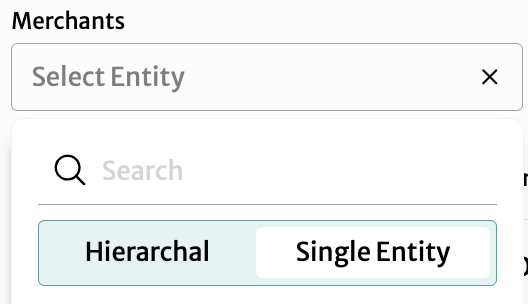
- Select the Hierarchical tab (selecting Single Entity tab lets you return to just viewing one merchant). Check the merchants you'd like to add.
- You can also search for merchants here.
- Once you have made your selection, click Cancel or OK.
- Finally, proceed to add other parameters or click Search at right.
- Another option is to enter the full or partial invoice number in the center Invoices search box:

- Add other parameters or click Search to get your results.
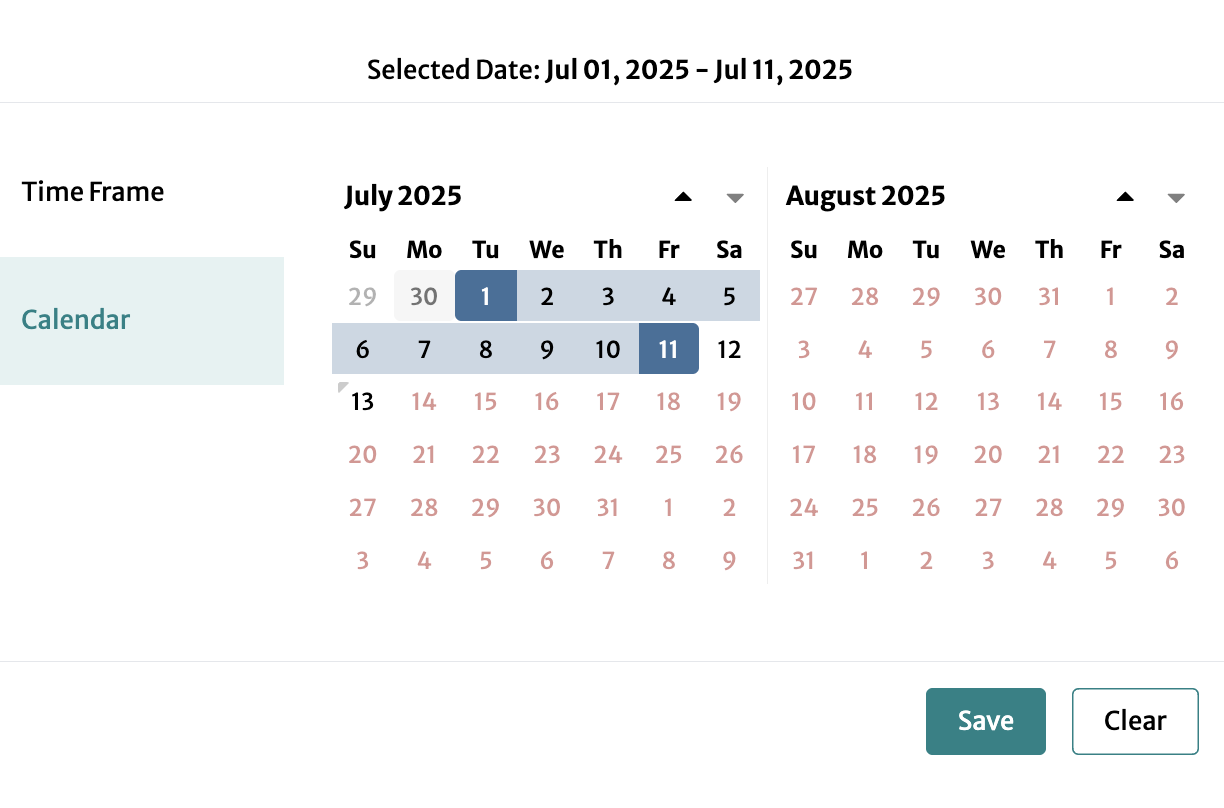
- A final option is to enter a date range, using a calendar picker:
or a preselected timeframe:
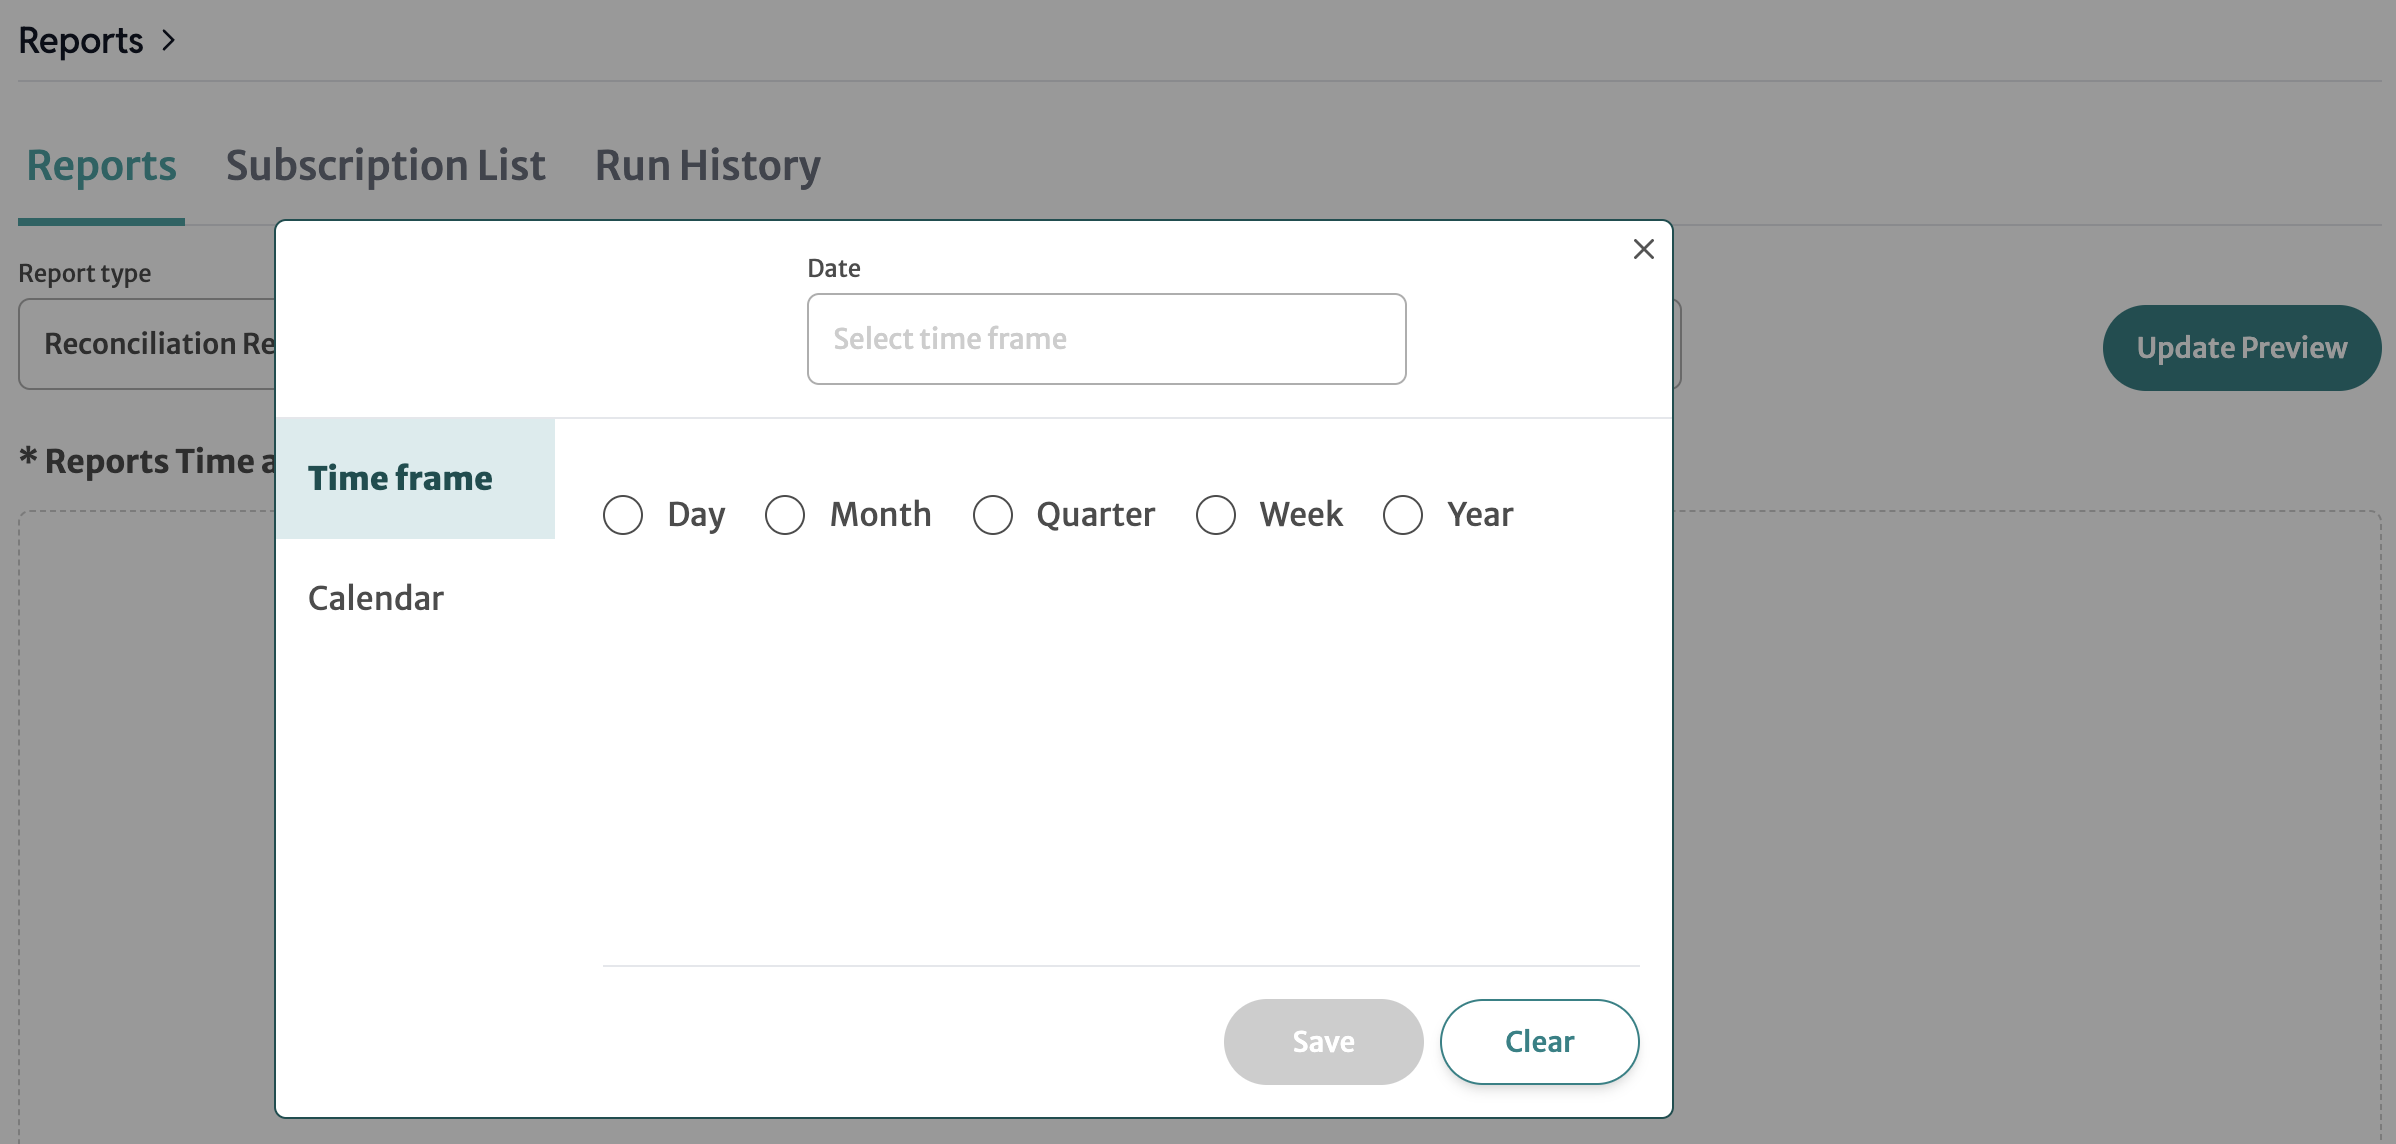
- When you finish, click Save or Clear.
- Add other parameters then click Search at right.
Viewing and Downloading Invoices
The results table below the selection options shows your invoices. At the bottom of the table, you can see the total number of invoices and you can set the number of results you'd like to see per page:

- View invoices in your browser with the "eye" icon:

This will open a new tab. Close the tab to go back to your table.
- Download invoices with the downward-pointing arrow icon:

This will open a new tab. Close the tab to go back to your table.