Connecting Checkout.com
This guide walks through the full setup of a new Checkout.com merchant account under Splitit. You proceed by requesting a new Checkout.com MID, creating a Checkout.com API key, sending your creds to Splitit, and configuring webhooks and settlement reports. Finally, you test and validate your installation.
Create a Dedicated MID with Checkout.com Support
- Provision a new Merchant ID (MID) with Checkout.com by contacting their support team. This MID must adhere to a few Splitit settings:
- Force capture enabled
- Auth Expiration aligned with your installment cycle (typically monthly)
Create API Key and Send Creds to Splitit
- Go to Developers in the Checkout.com Dashboard (it's the
</>symbol at upper right).
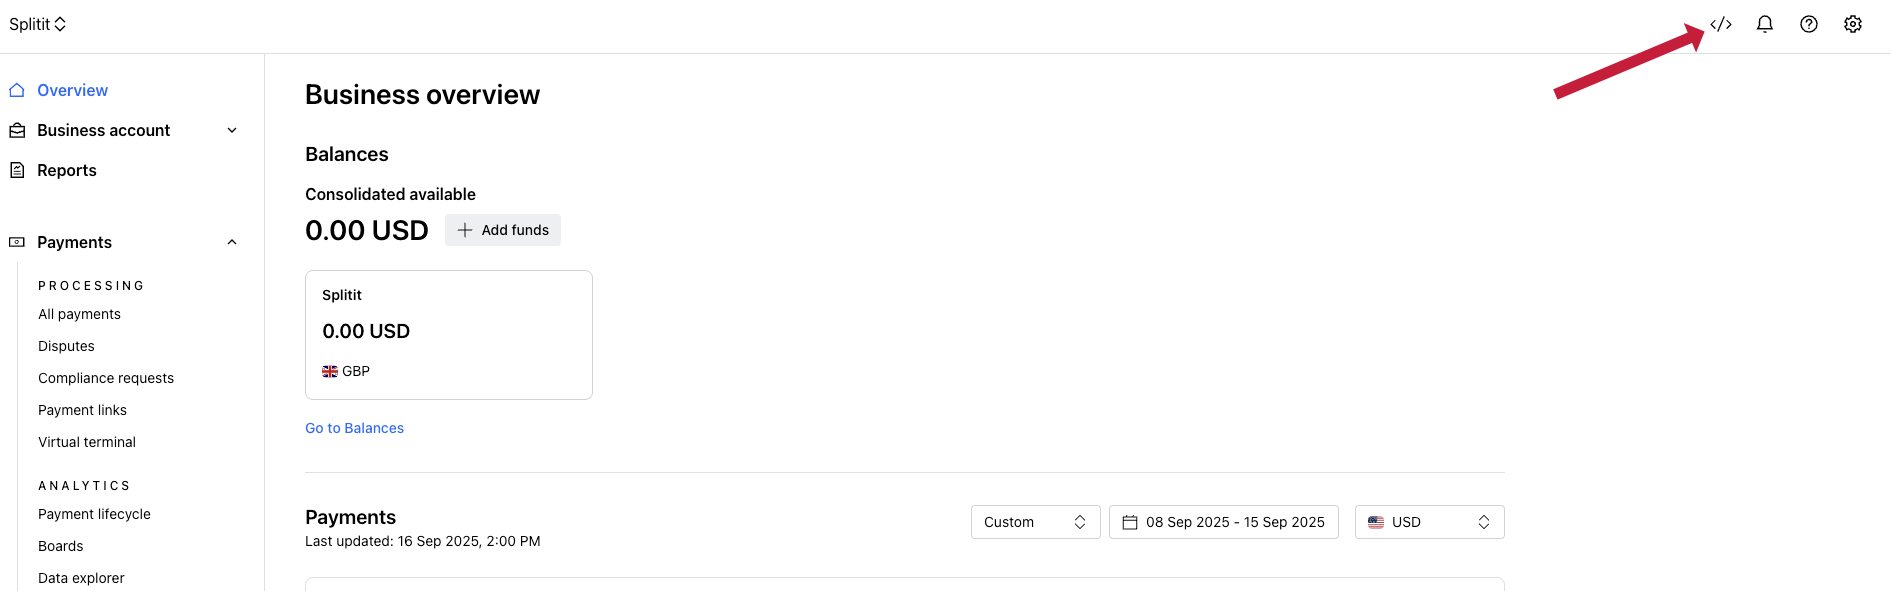
- Click Keys.

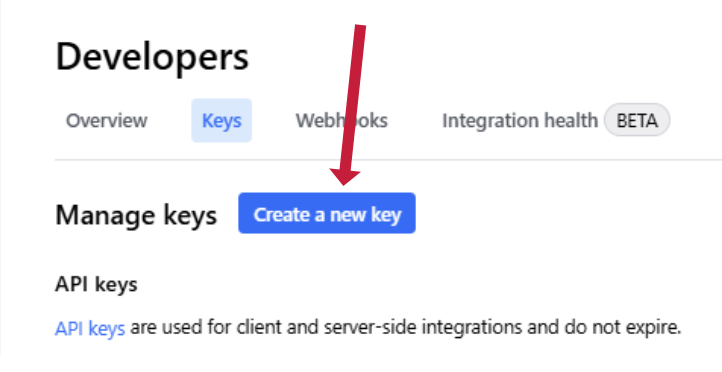
- Click Create a new key.
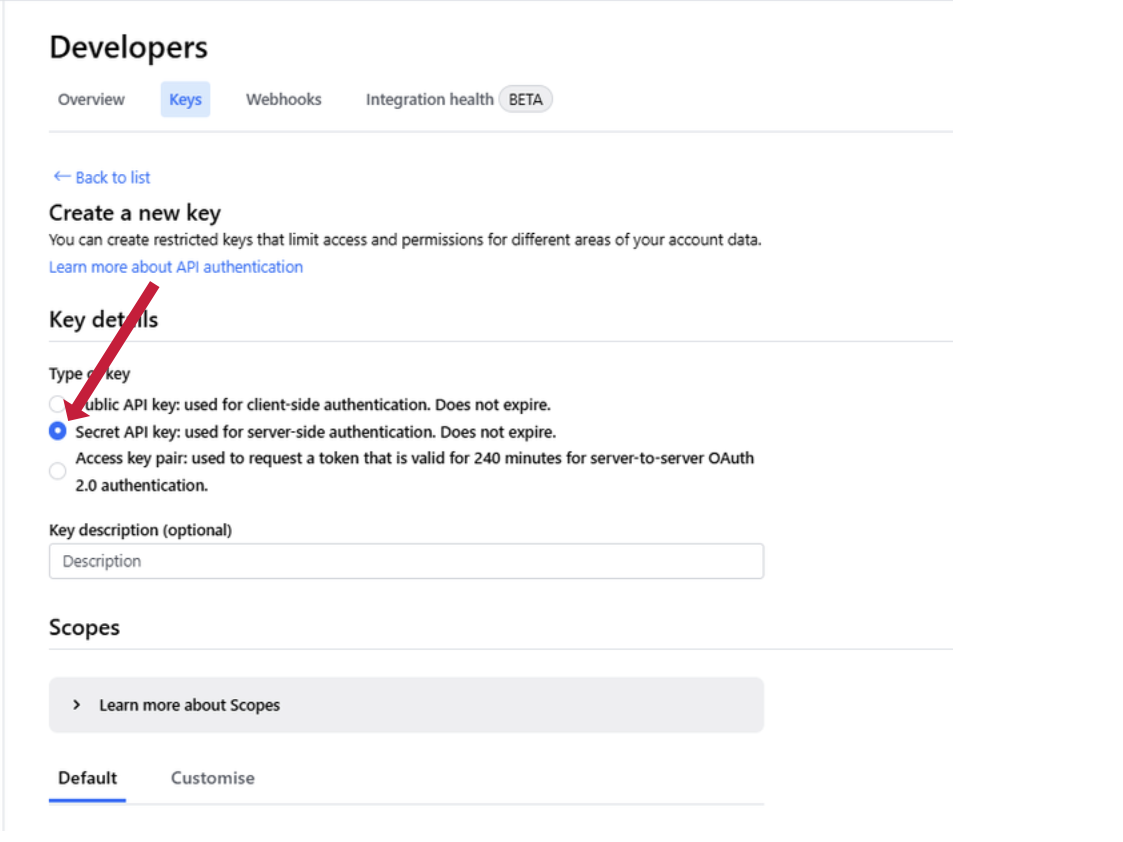
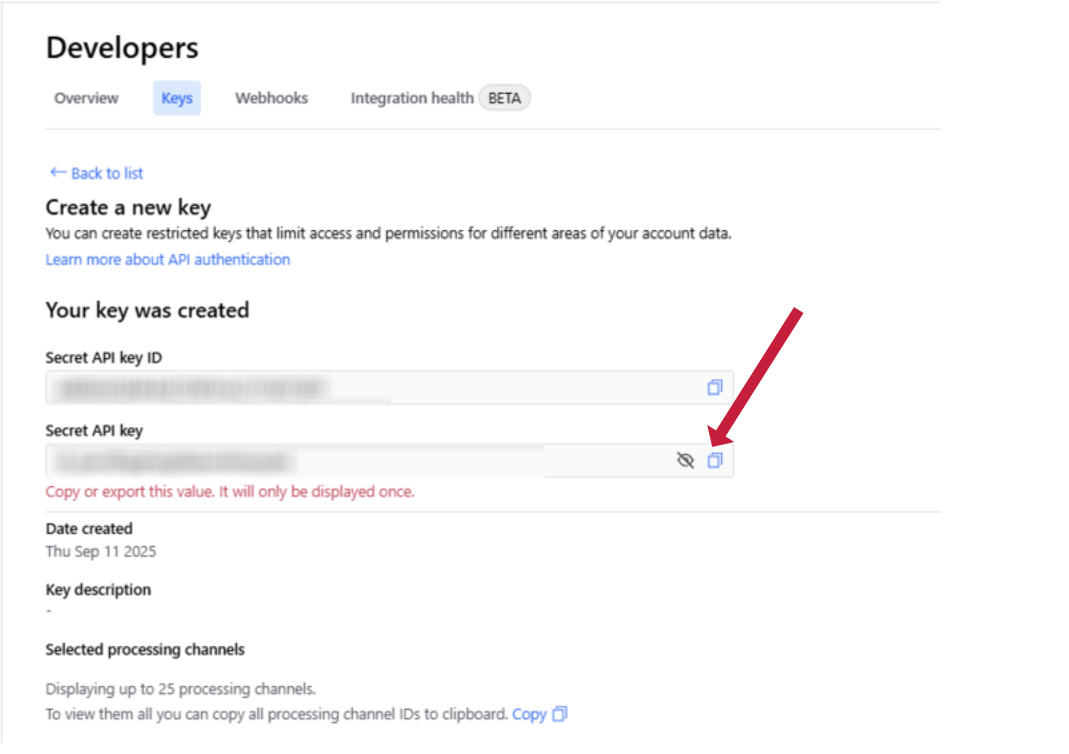
- Select Secret API key (server-side authentication).
- Scroll to the bottom of the screen and select Create Key.
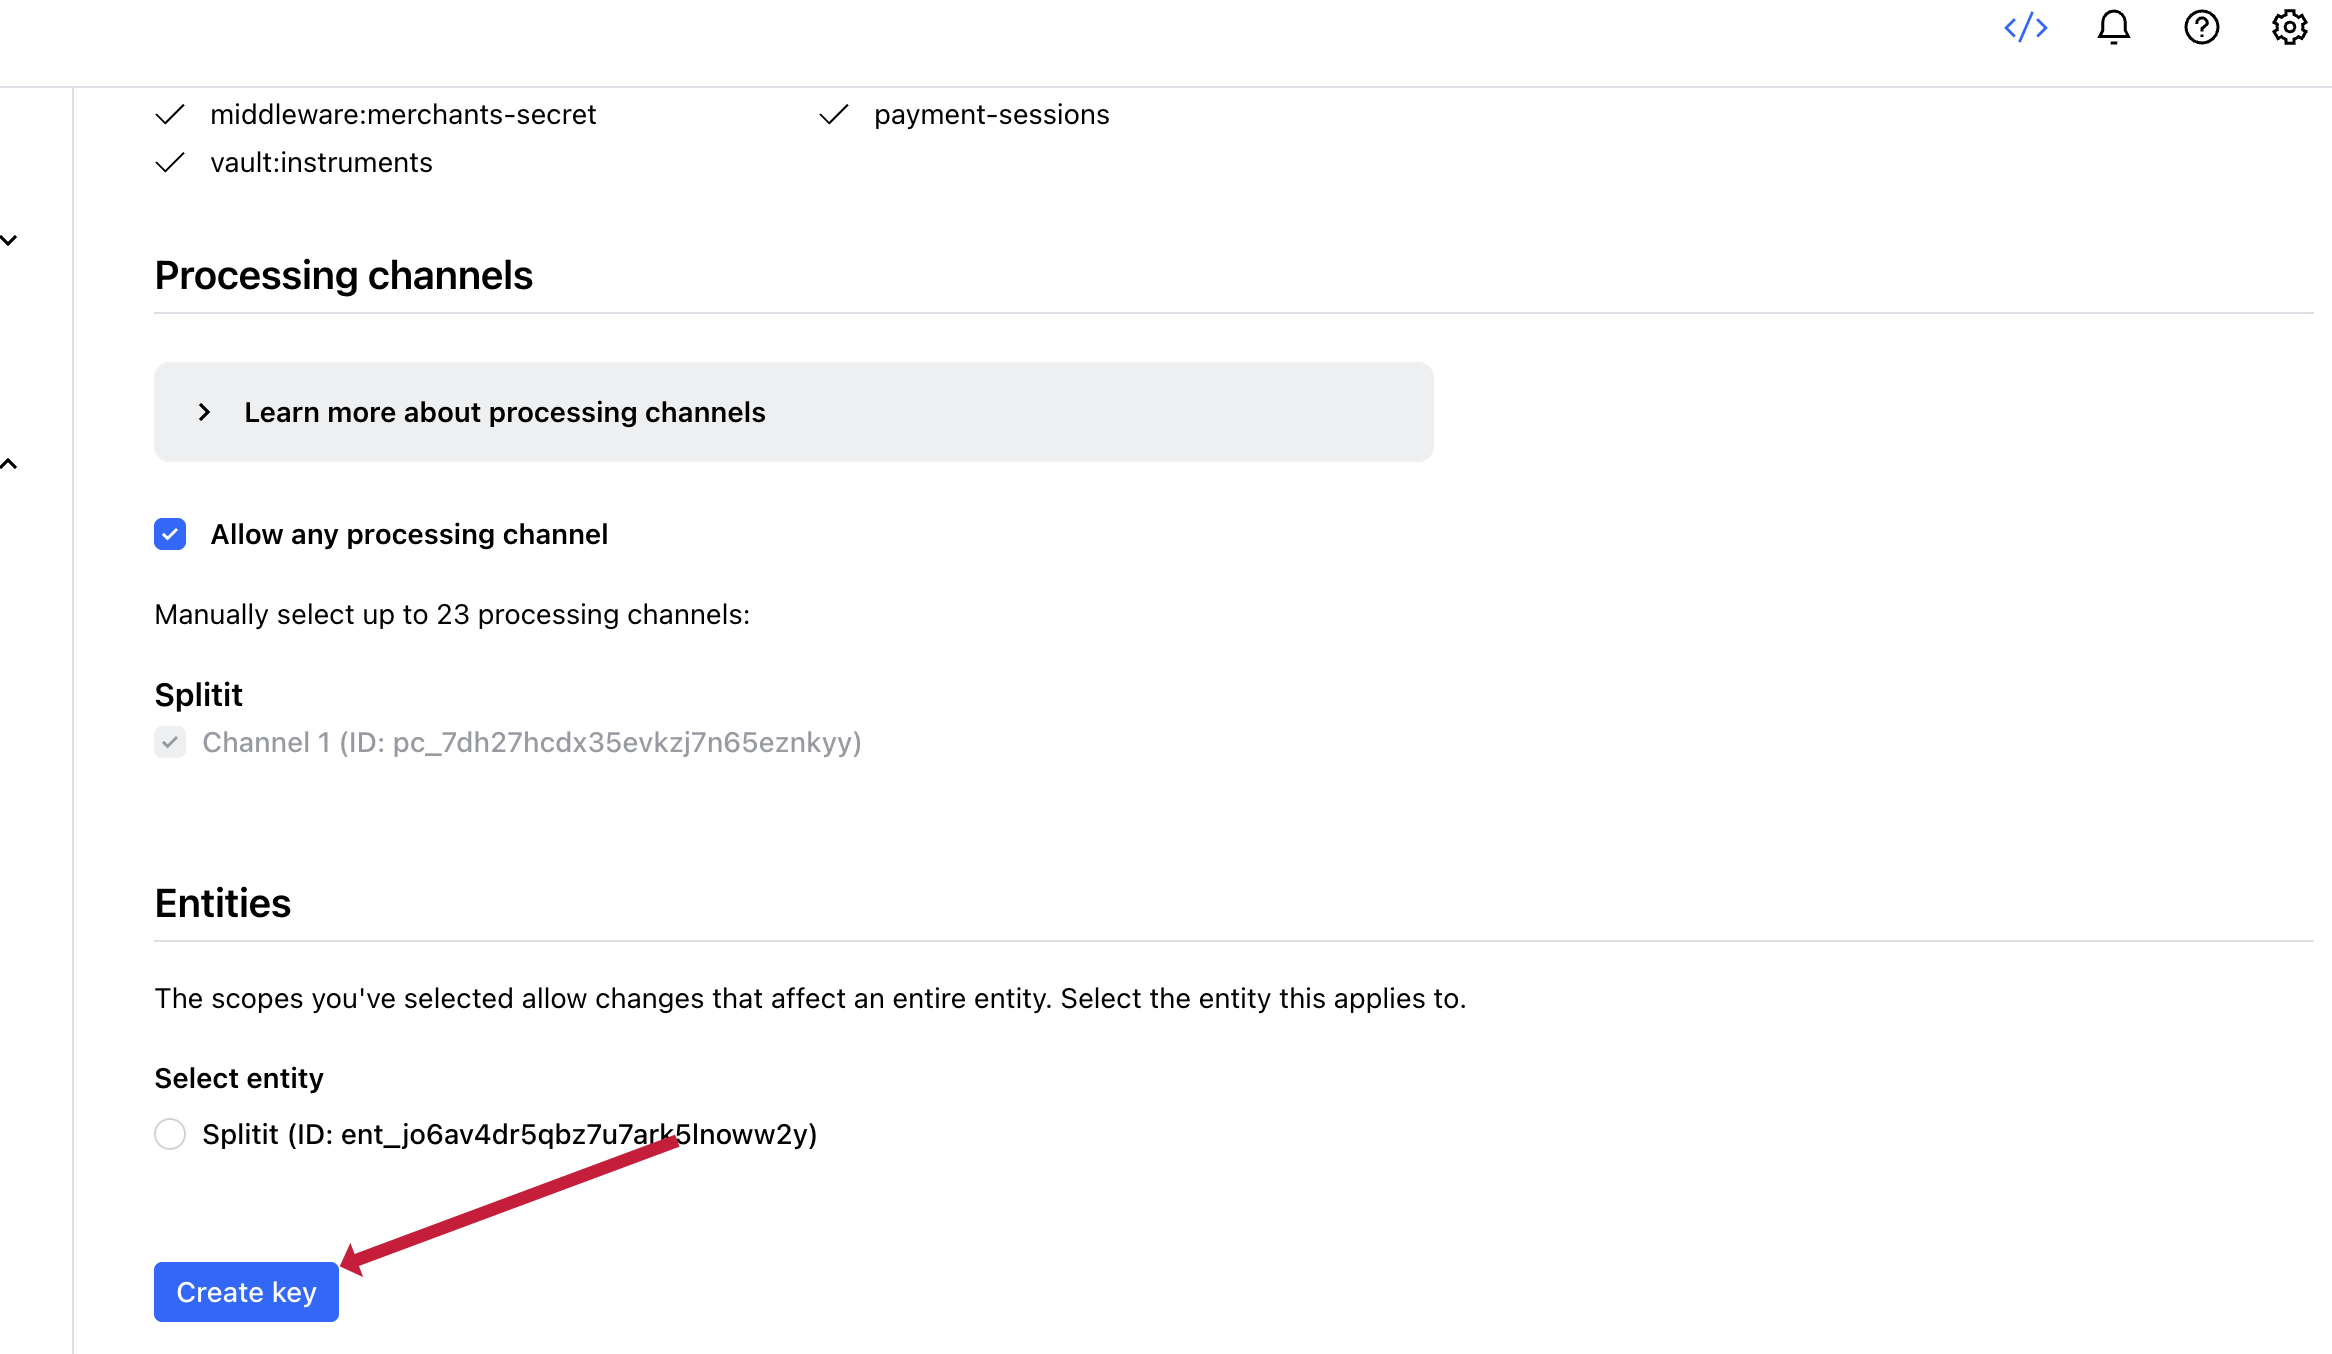
- Scroll up and copy/export your Secret API Key (it will only be displayed once).
- Below that section, you also need to copy your ProcessingChannelId.
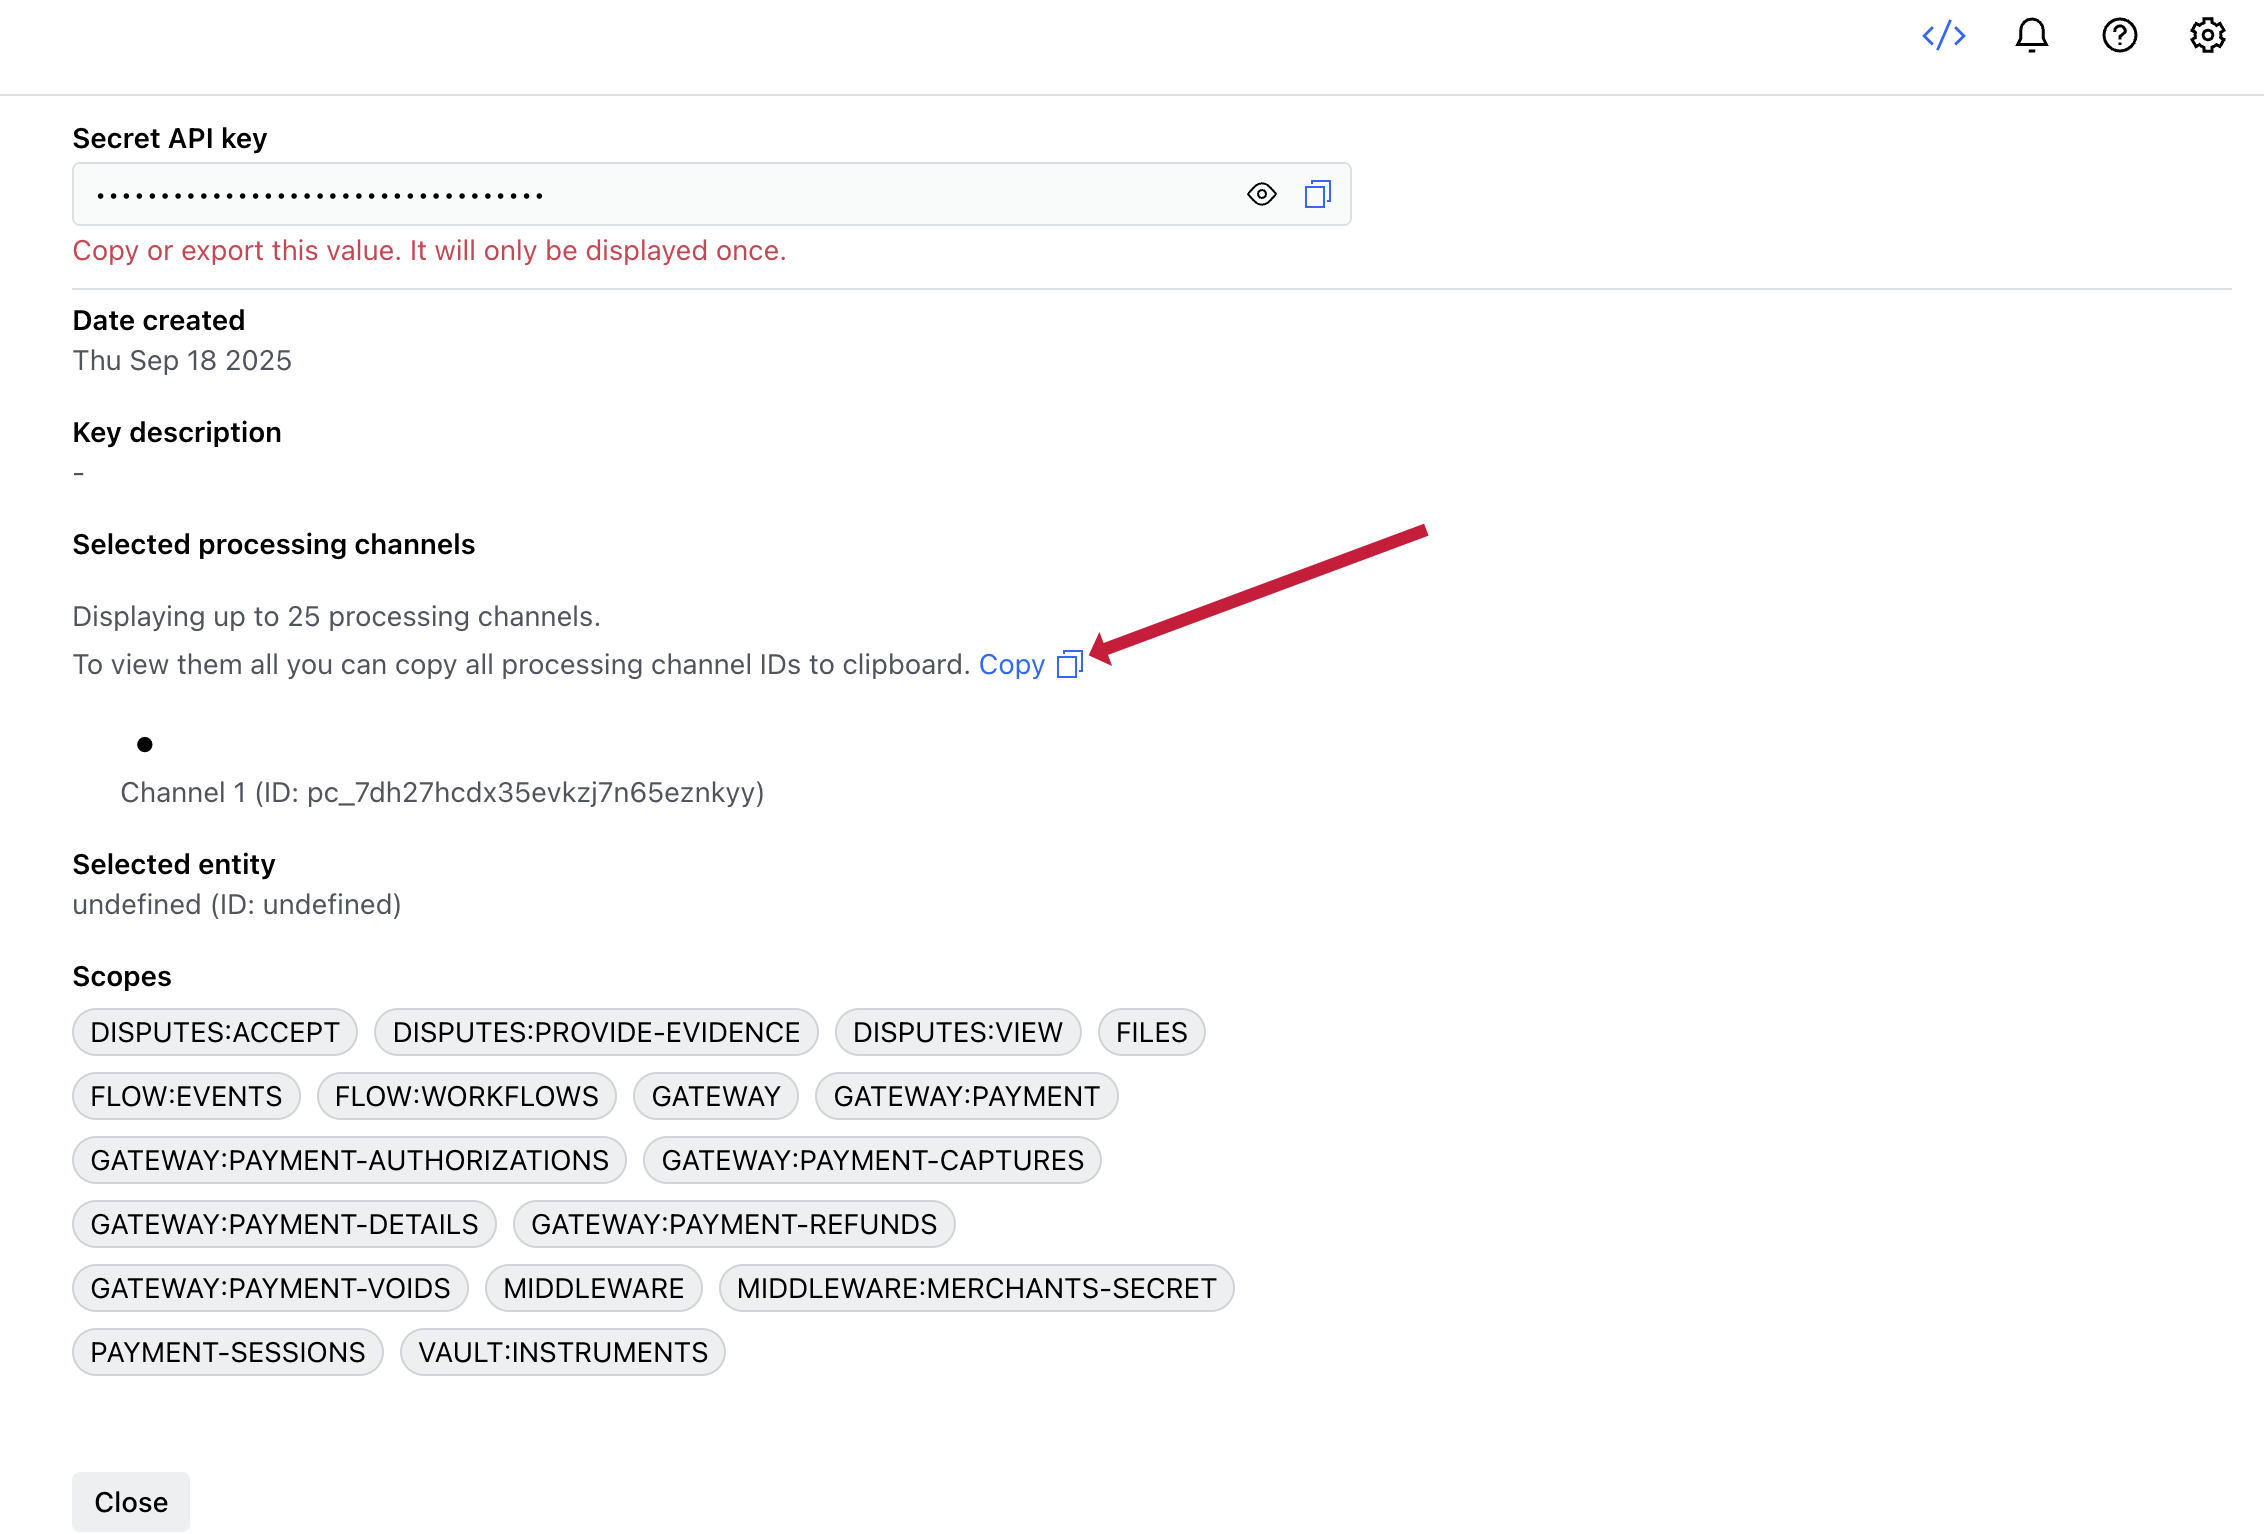
- Contact your personal Onboarding Manager or the Onboarding Team at onboarding@splitit.com to get a secure form link. On this form, you will need to provide your Secret API Key and your ProcessingChannelId.
For security reasons, do not send these credentials by email or chat. Instead, please use the secure form link we provide.
Configure Webhooks
- Go to Developers in the Checkout.com Dashboard (the
</>symbol at upper right).
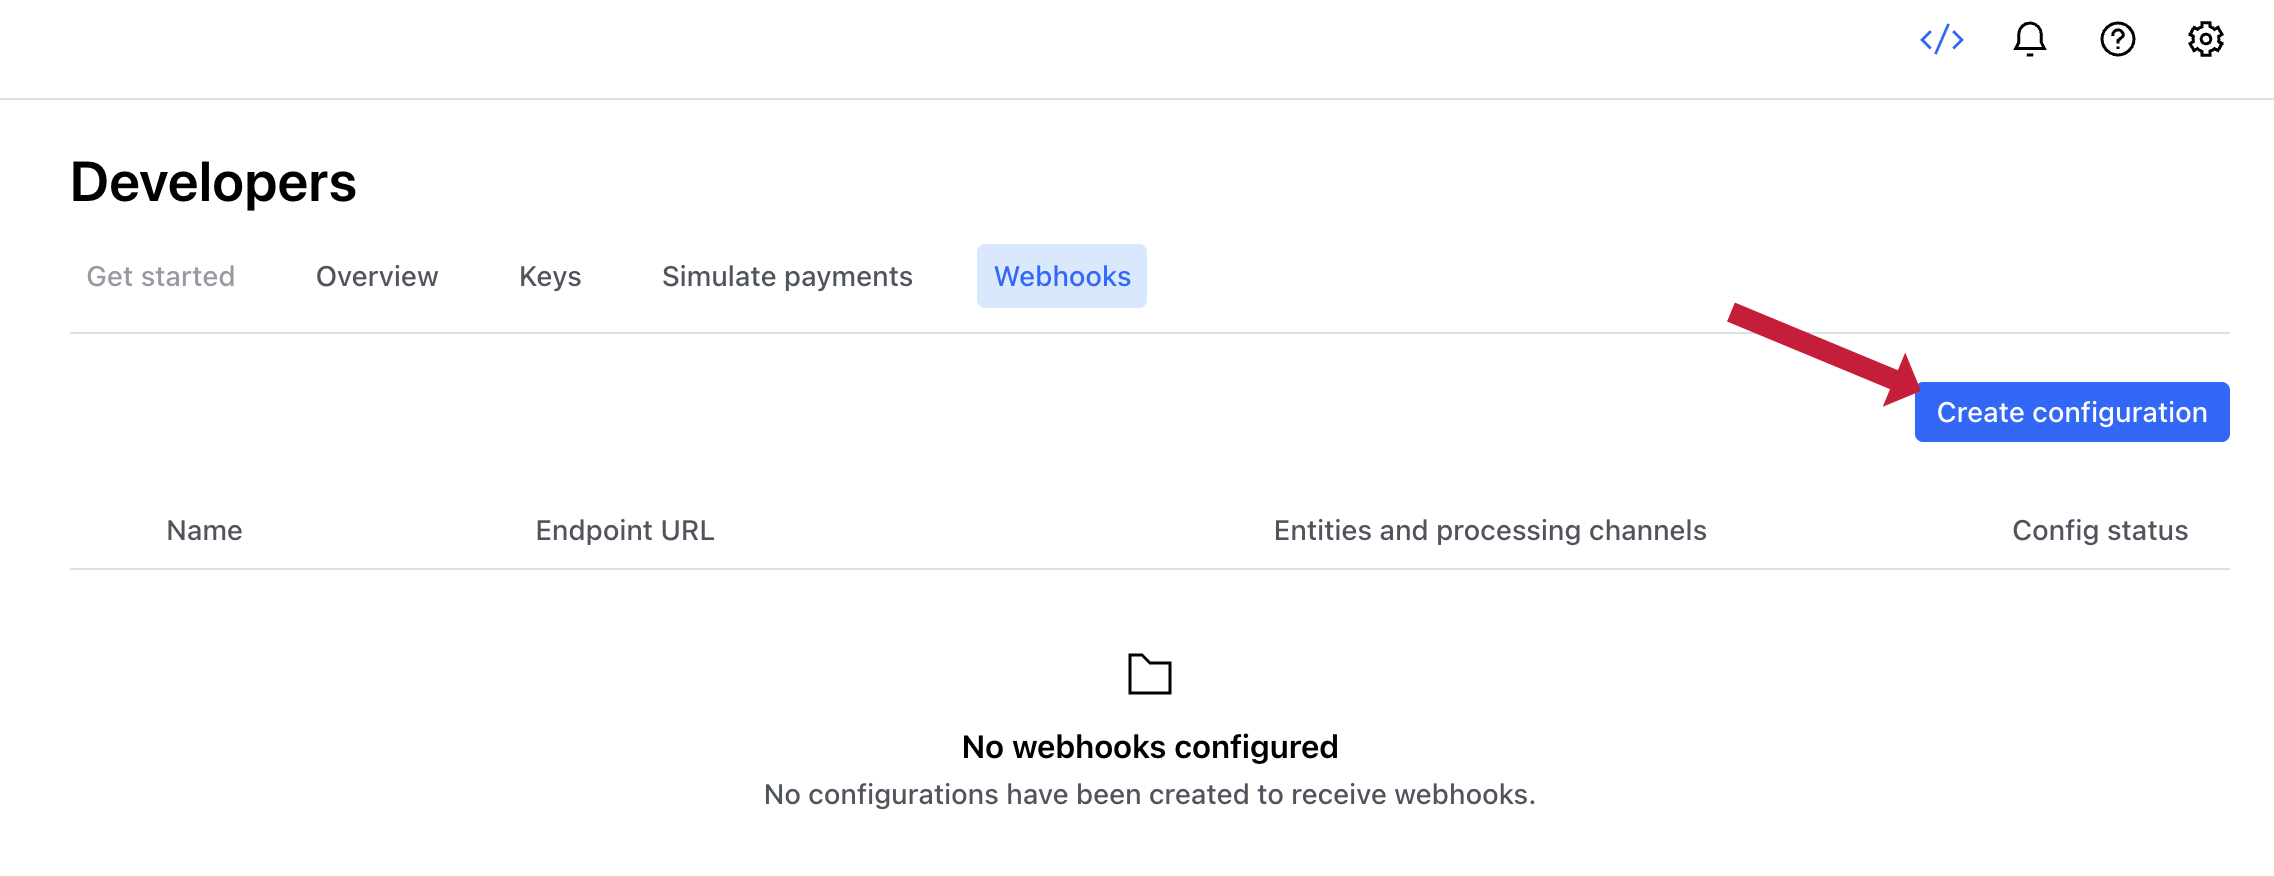
- Navigate to Webhooks.

- Click Create configuration.
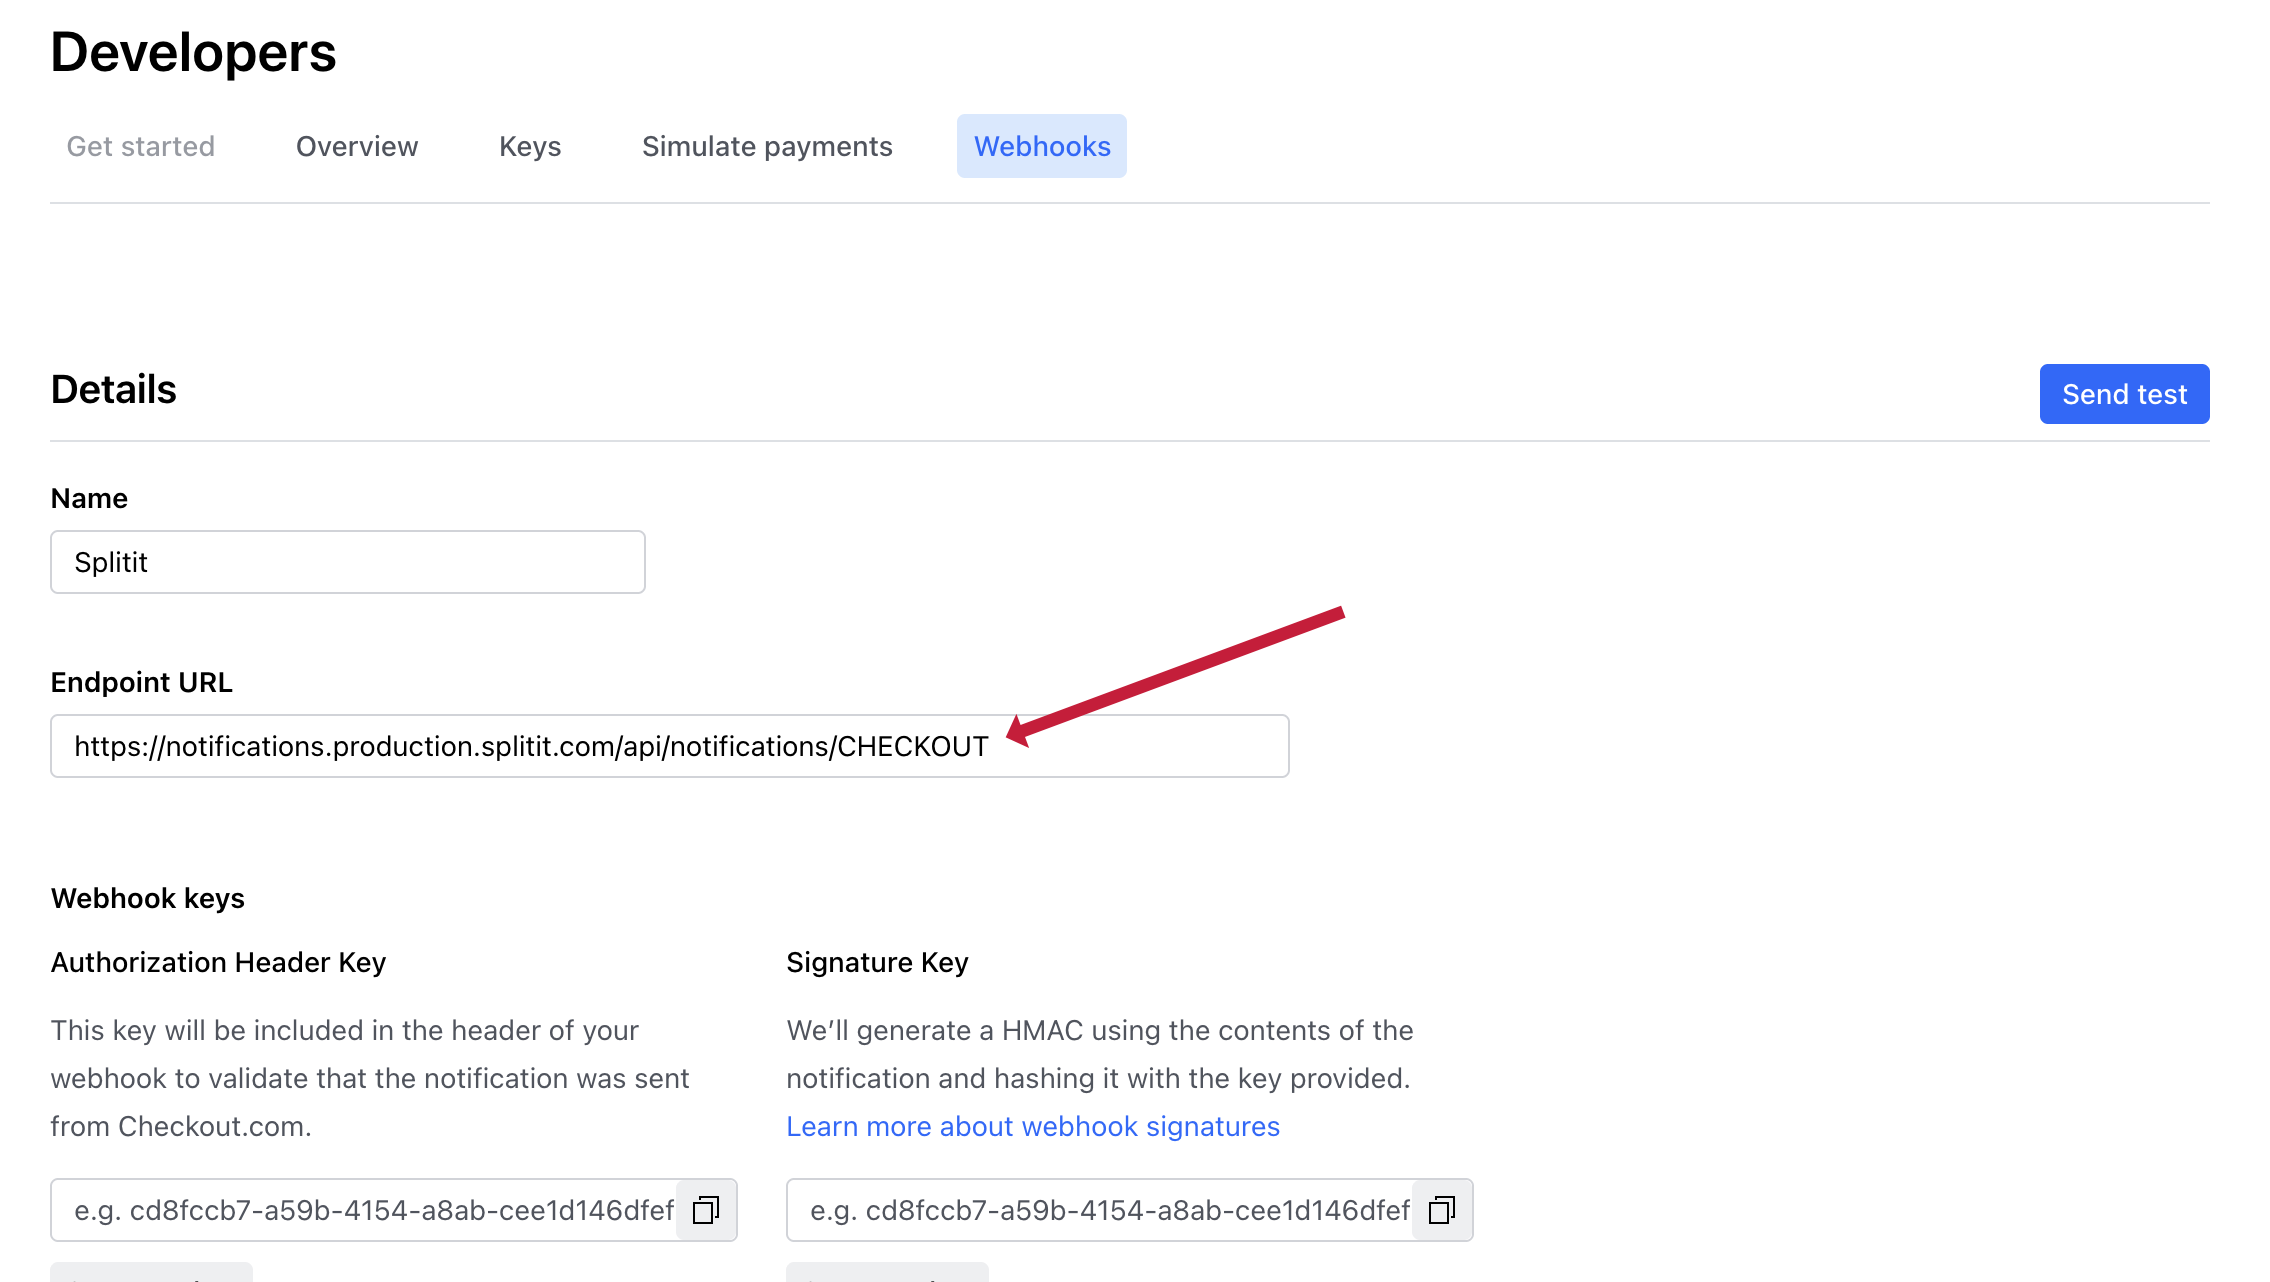
- Add Splitit to the name field.
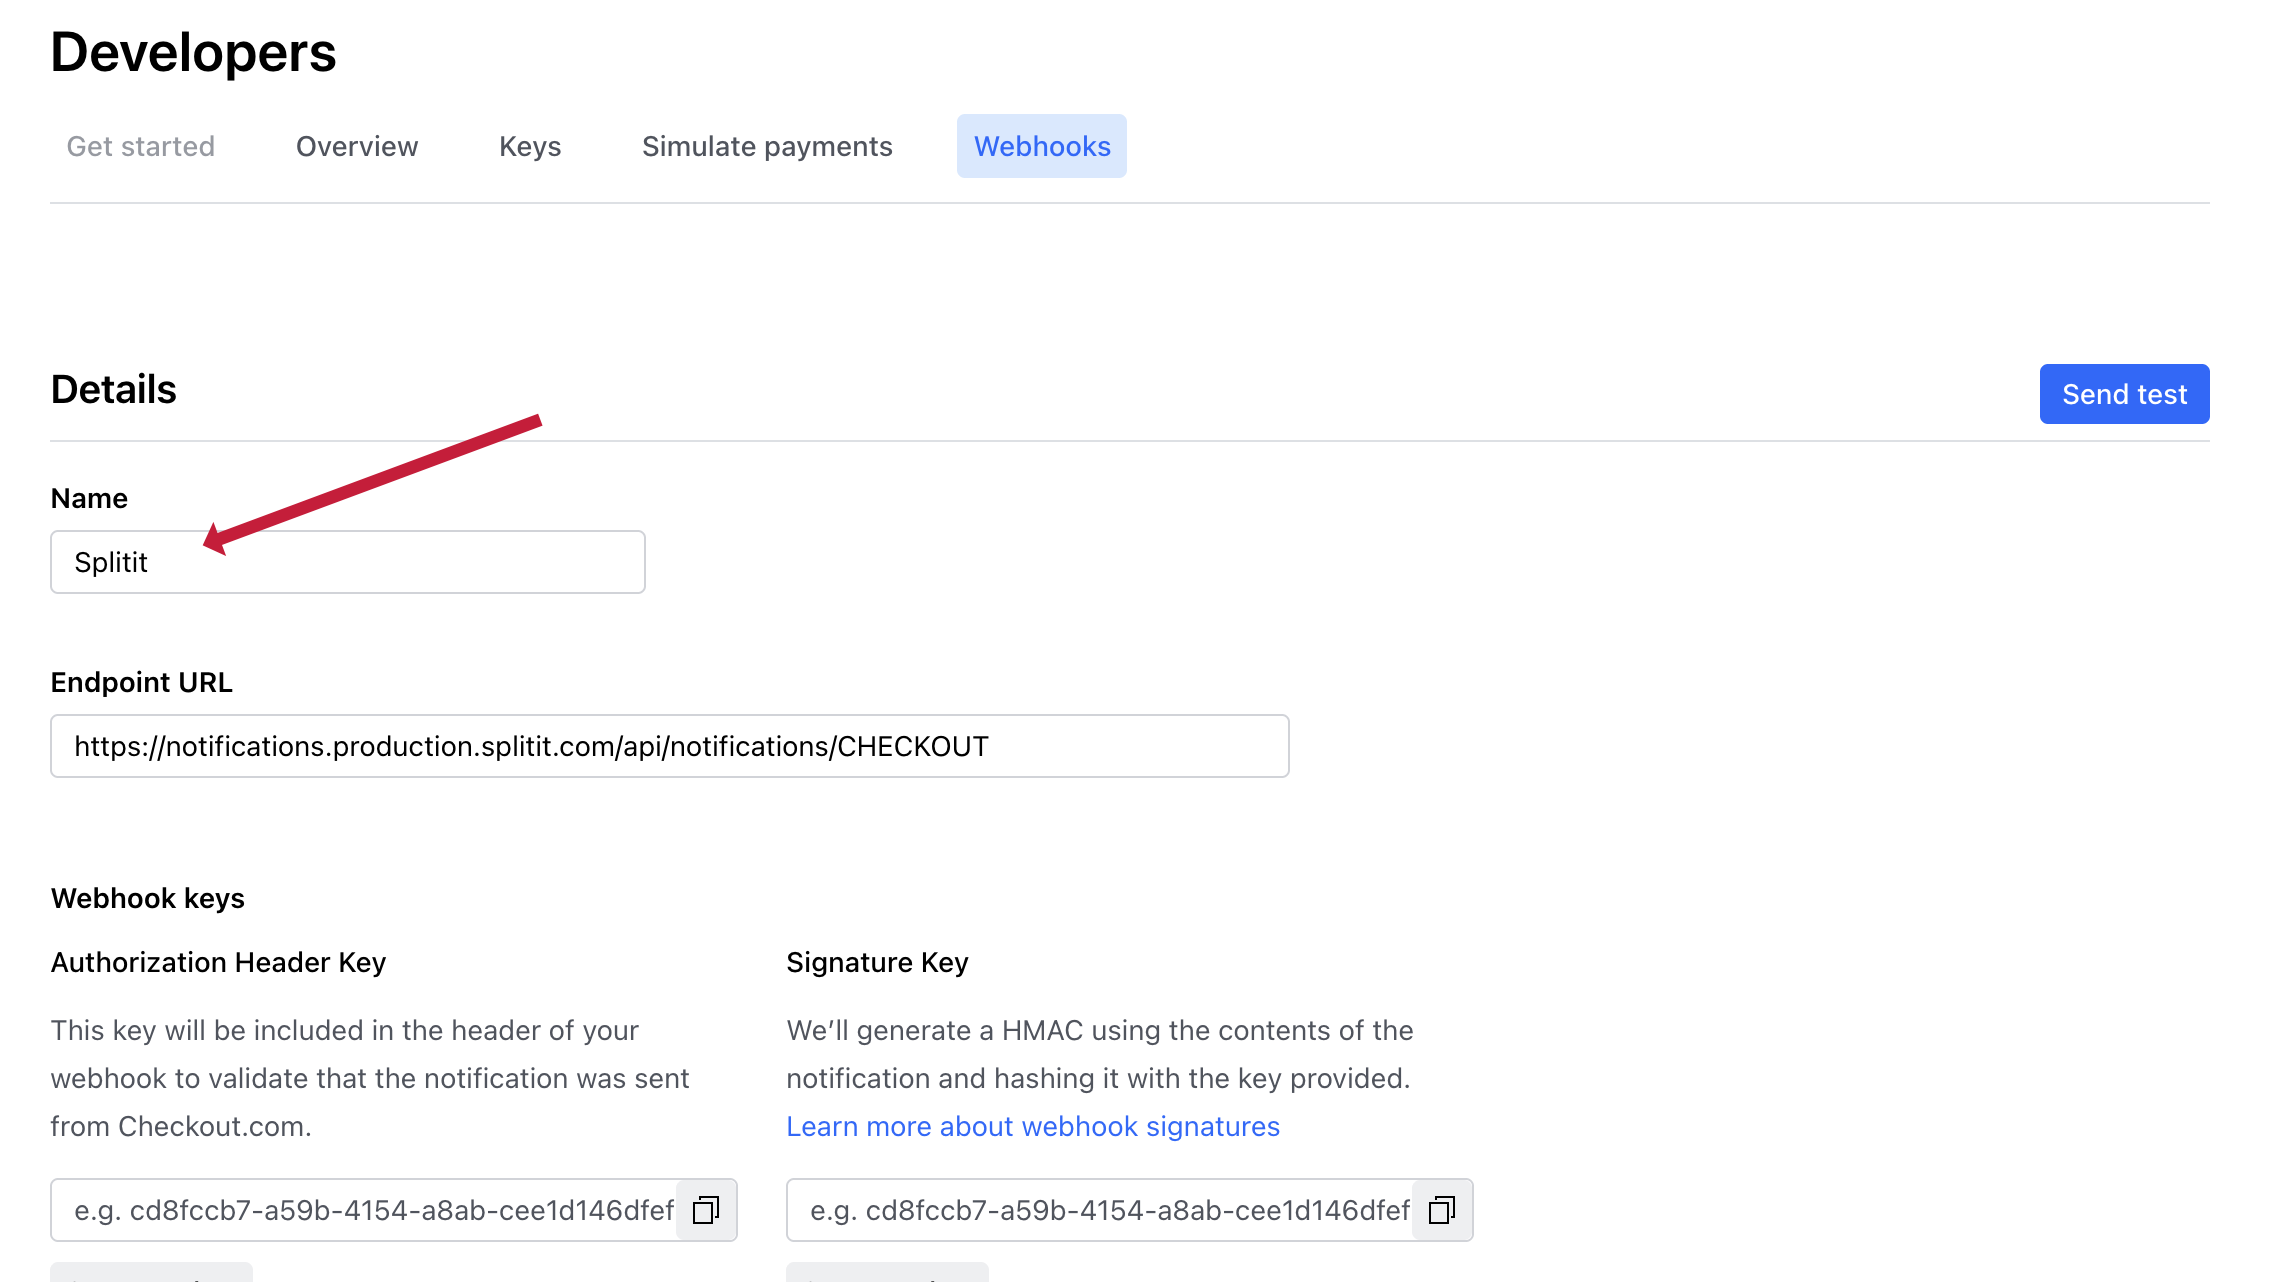
- Set your Endpoint URL to:
https://notifications.production.splitit.com/api/notifications/CHECKOUT
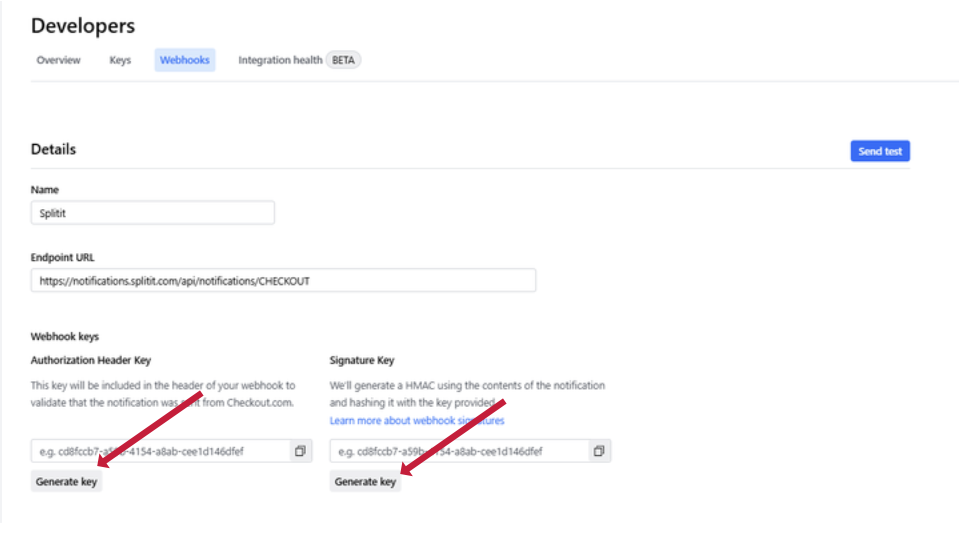
- Generate an Authorization Header Key and a Signature Key by clicking Generate key for each.
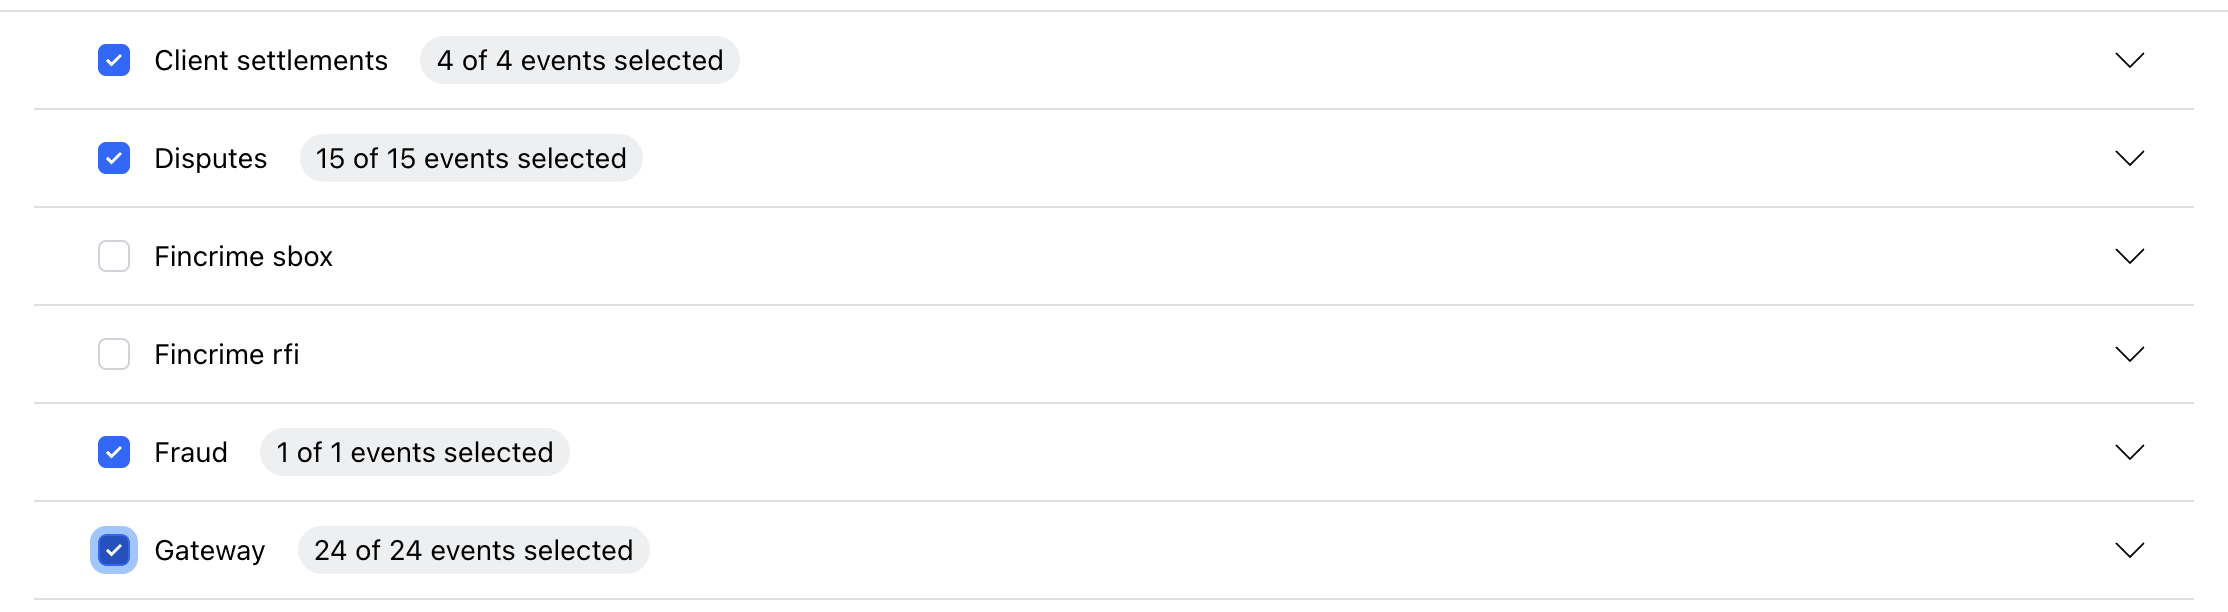
- Under Events, use checks to select ALL of the webhook events in the following sections:
- Client settlements
- Disputes
- Fraud
- Gateway
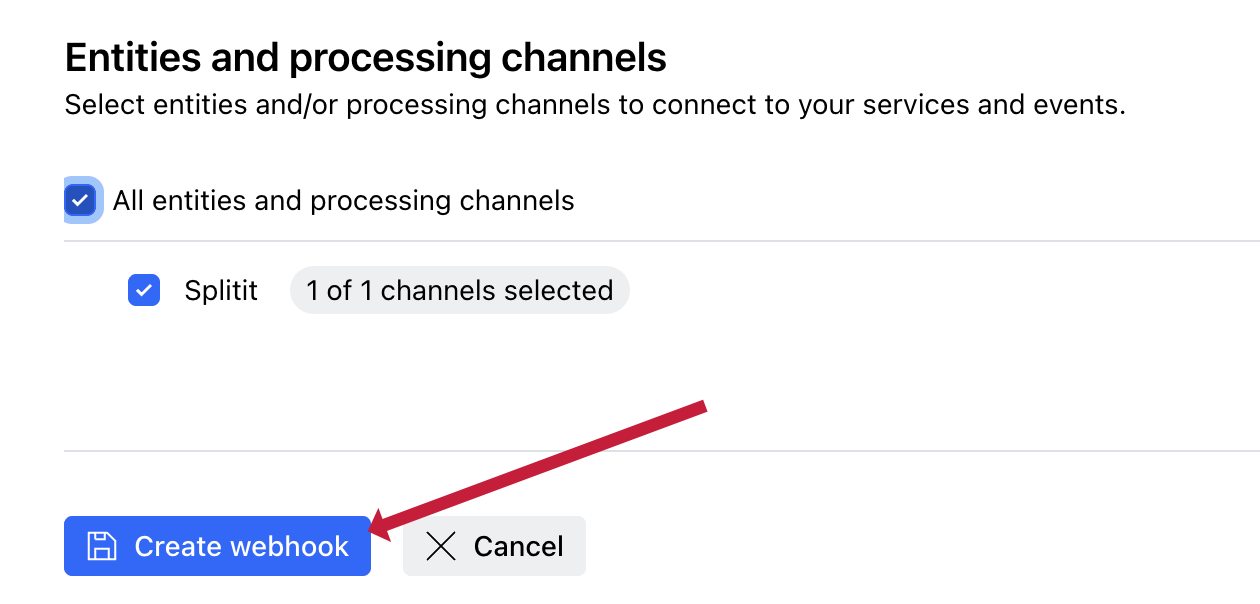
- Add any other webhook events you would like, then proceed to the bottom of the page and click All entities and processing channels under Entities and Processing Channels.

- Scroll back to the top and click Send test at upper right to use Checkout.com's testing option.
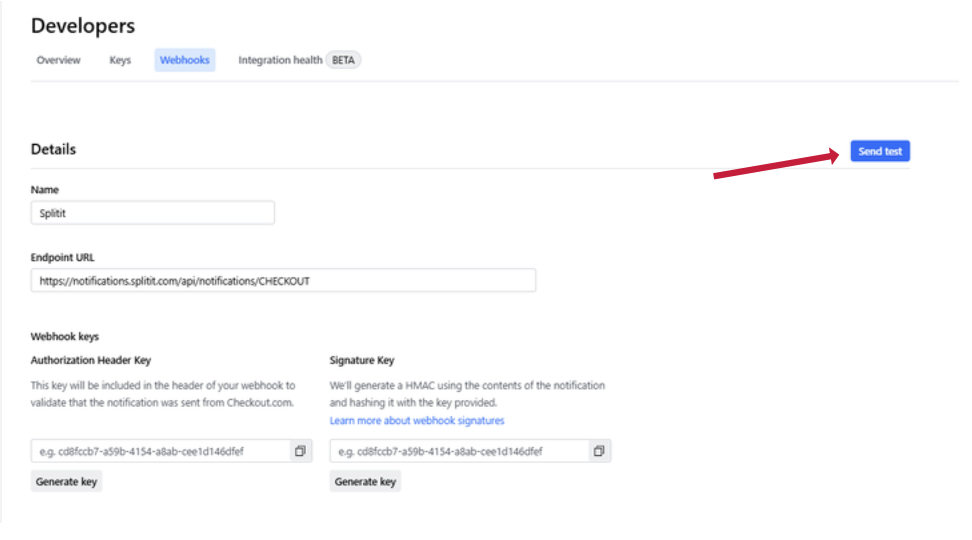
- You should receive a success message:

- Finally, scroll to the bottom and click Create webhook.
Configure Settlement Reporting
Configure reporting and settlement files to be delivered directly to Splitit by contacting Checkout.com support. Ensure the frequency matches your Splitit account's reconciliation requirements (typically daily).
Test and Validate
Before you go live, there are a few things you should do:
- Run a test transaction in your Splitit implementation and confirm that authorization, capture and settlement all function properly.
- Contact your personal Onboarding Manager or the Onboarding team at onboarding@splitit.com to verify that:
- All of your webhooks are arriving at the Splitit endpoint with the correct payloads
- Your settlement report delivery is functioning properly
This concludes the process, but for any additional assistance please contact your Onboarding Manager or the Onboarding Team at onboarding@splitit.com.