Merchants Management
Access the Merchants Management section from the left-side menu to get/set your credentials, set your gateway info, customize your plans, manage your shopper emails, set webhooks related to your plans, and manage users on your account.
Front Page
If you are a single merchant, you will see your General Details on the front page of this section (refer to General Details section below):
If you have access to more than one merchant, you will see a list of merchants, and you can access a search that allows you to view and manage your merchants.
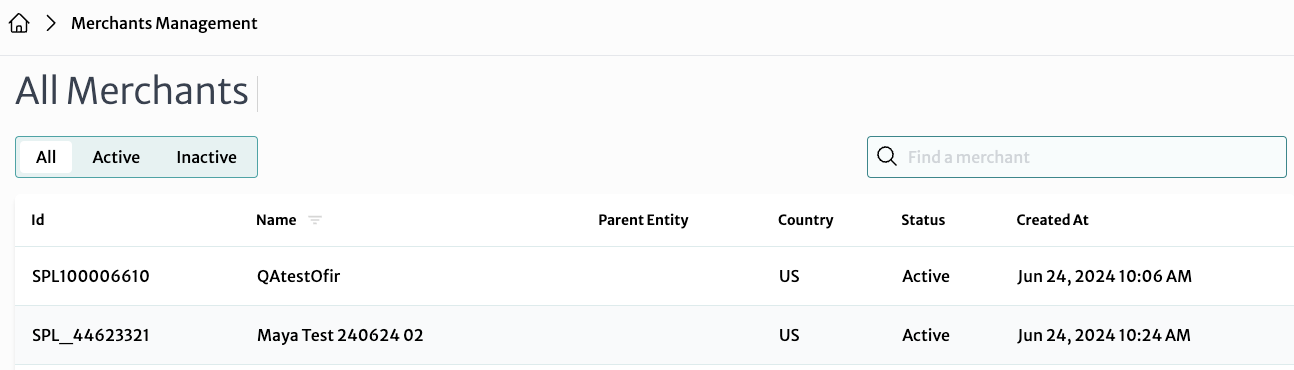
- Each row includes Merchant Id, Name, Parent Entity, Country, Status, and Created At (time). You can filter merchants by All, Active and Inactive statuses, using the tabs at the top
- Click on a merchant from the list to go to the Merchant Details page, where you can manage the selected merchant's settings and configurations
- You can also add a merchant here (in the sandbox environment), but please contact support@splitit.com for more information
General Details
The box here shows basic information about your selected merchant account (whether you just have one, or its the selected one; it will show up on the front page if you only have one merchant):
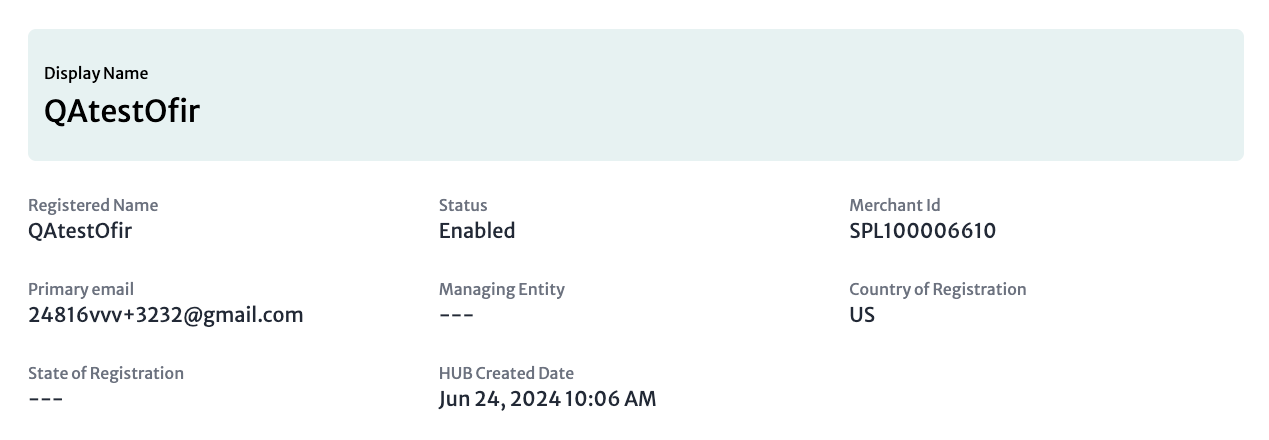
- Display Name: The public name of the merchant
- Registered Name: The official name of the merchant as registered in the system
- Status: The merchant's current operational status
- Merchant ID: A unique identifier for the merchant within the Splitit system
- Primary Email: The main email address associated with the merchant for contact and notifications
- Managing Entity: The entity responsible for managing this merchant
- Country of Registration: The country where the merchant is registered
- State of Registration: The state within the country where the merchant is registered
- Created Date: The date and time when the merchant was created in the system
Customize Plan Design
In this section, you can personalize your design to align with your brand's identity. This includes a brand logo, which will be displayed on your outgoing emails and checkout page.
Uploading a Brand Logo
- Drag & Drop: Click and hold your logo file from your computer and drag it into the "Drag & drop files" area
- Browse: Click on the Browse link to open a file selection dialog. Navigate to the location of your logo file, select it, and click Open
- Saving the Logo: Once the logo is uploaded, click the purple Save button to apply the logo to your plan design
- If you decide not to upload a logo or want to cancel the upload, click the Cancel button.
Terminals
The Terminals page allows you to view detailed information about the terminals associated with your account:

- Terminal Name: The name assigned to the terminal
- Terminal Id: A unique identifier for the terminal
- Payment Gateway: The payment gateway used by the terminal
- API Key: The API key associated with the terminal
- Test Gateway: Indicates whether the terminal is using a test gateway
- Status: The current operational status of the terminal
You can select by All, Active and Inactive by clicking the tabs at the top.
Credentials
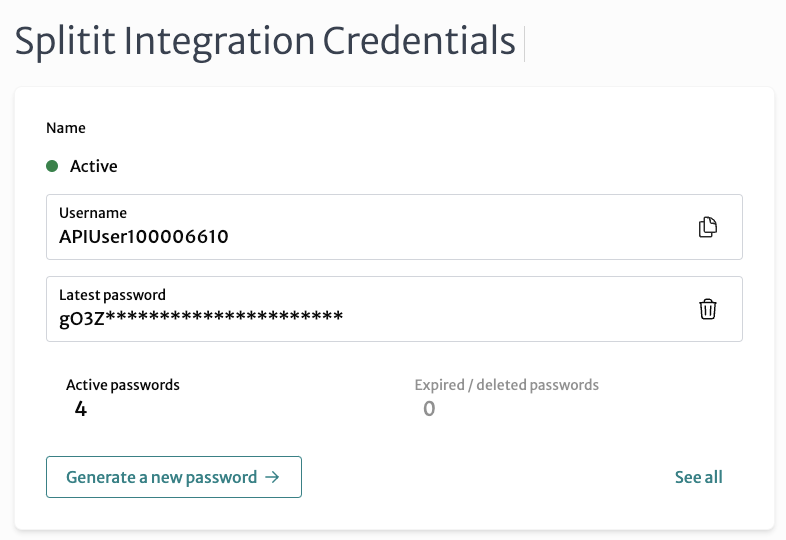
Credentials is one of the most important sections of the Merchant Hub as it's where you can fetch your Username and Password(s). Press ⧉ to copy your username. For passwords, you can Generate a new password or See all of your passwords. Delete passwords with 🗑.
Emails
The Emails section allows you to manage email subscriptions for both shopper (choose which emails get sent to your shoppers) and merchant emails (emails sent to you related to plans).
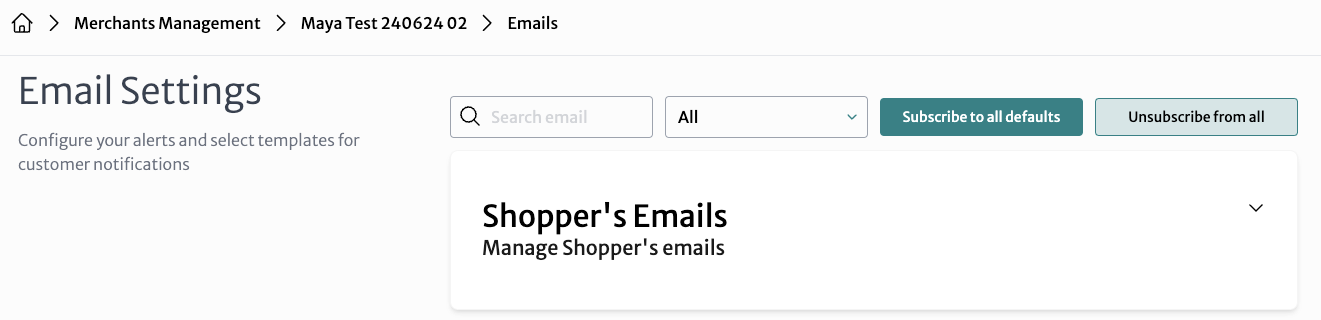
- Use the search box to find a specific email (using the dropdown next to it to select whether to search among shopper or merchant emails)
- You can preview each email by clicking the 👁
- Turn an email on and off by using its switch
- Using the respective buttons in the Shopper Emails and Merchants Emails areas, you can also Subscribe to all Defaults and Unsubscribe from All
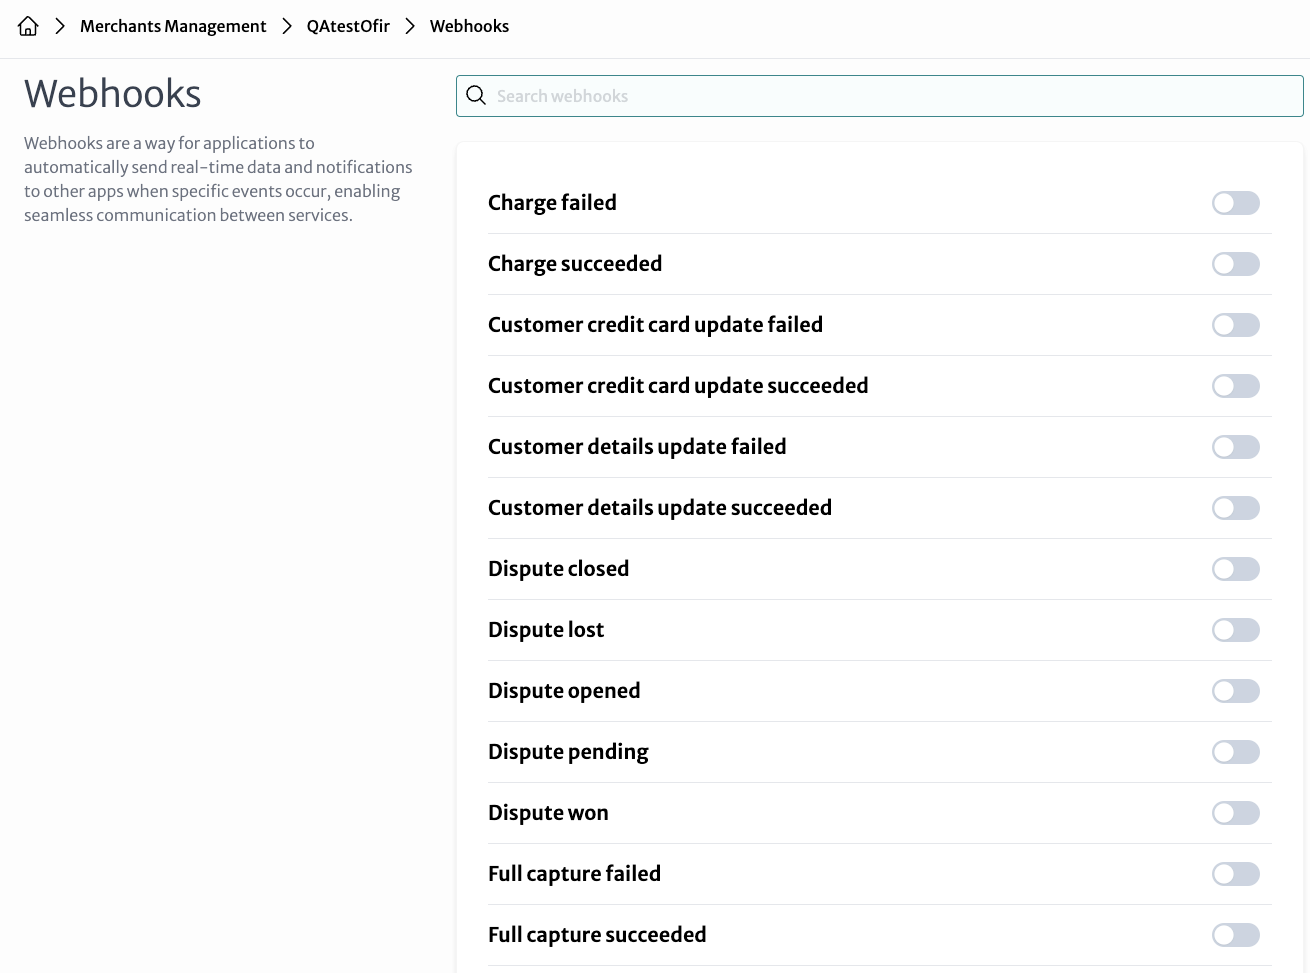
Webhooks
The Webhooks section allows you to configure webhooks, which are notifications sent automatically by Splitit to a URL of your choice when specific events occur.
-
Viewing and Searching Webhooks: Use the Search Bar to find specific webhooks by entering relevant keywords
-
Managing Webhooks: Use the toggle switches next to each webhook to turn it on or off
-
Updating Webhooks: If a webhook URL has changed, enter the new URL under the appropriate webhook and click Update
You can find more information about webhooks here.
Users
The Users section allows you to view and manage users associated with a merchant account. You can add new users, see roles and statuses, and delete users with 🗑:
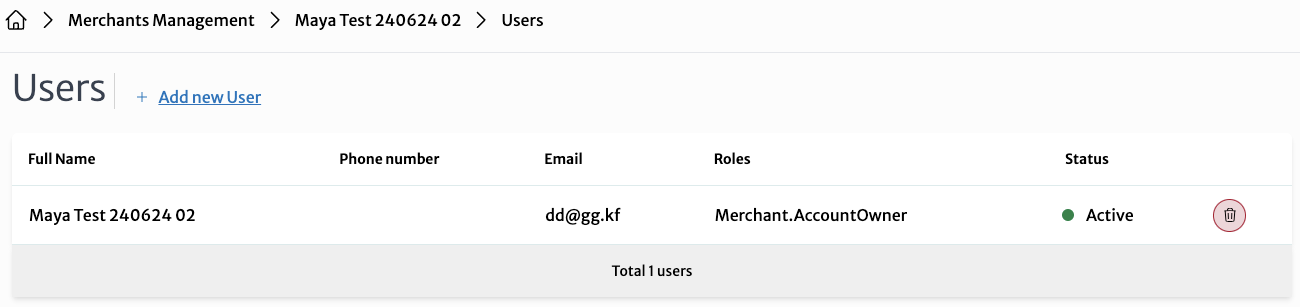
Clicking Add new User will display the Create User pop-up:
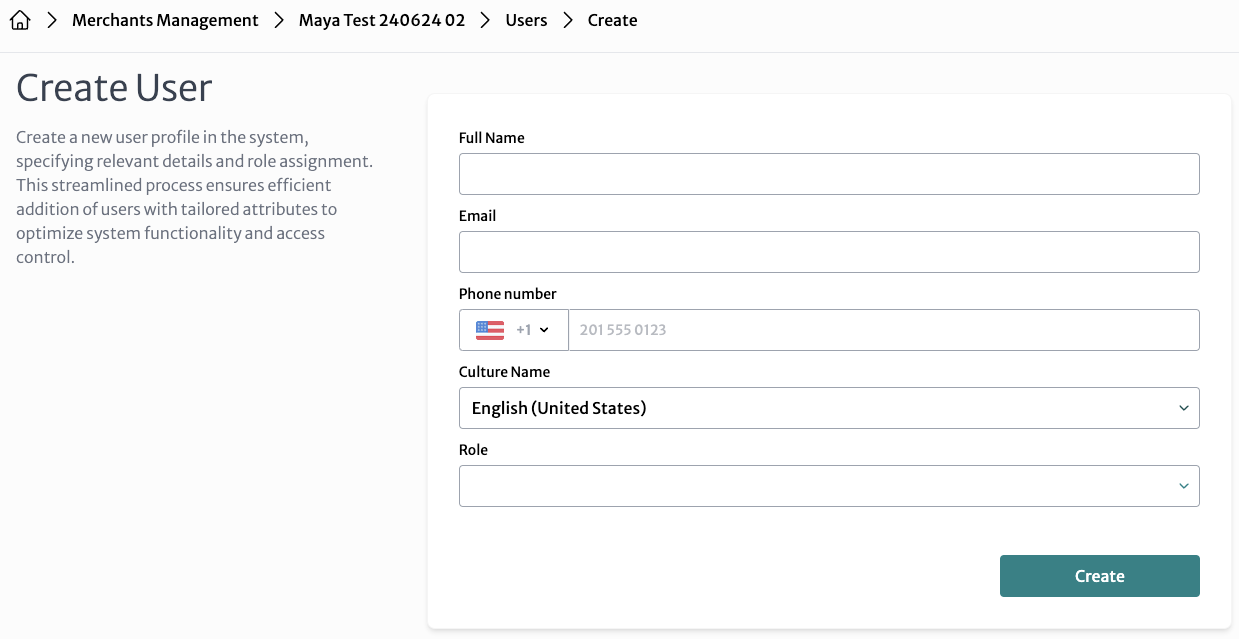
- Full Name: Enter the full name of the user
- Email: Enter the user's email address
- Phone Number: Enter the user's phone number, including the country code
- Culture Name: Select the user's preferred language and region settings from the dropdown menu (e.g., English (United States)).
- Role: Select the appropriate role for the user from the dropdown menu (selecting from Account Owner, Manager, Cashier and Developer)
Click the Create button to save the new users and add them to the system.