VPOS (Virtual Point of Sale)
Start an installment plan using Splitit’s Virtual Point of Sale Terminal by following the instructions below.
Login
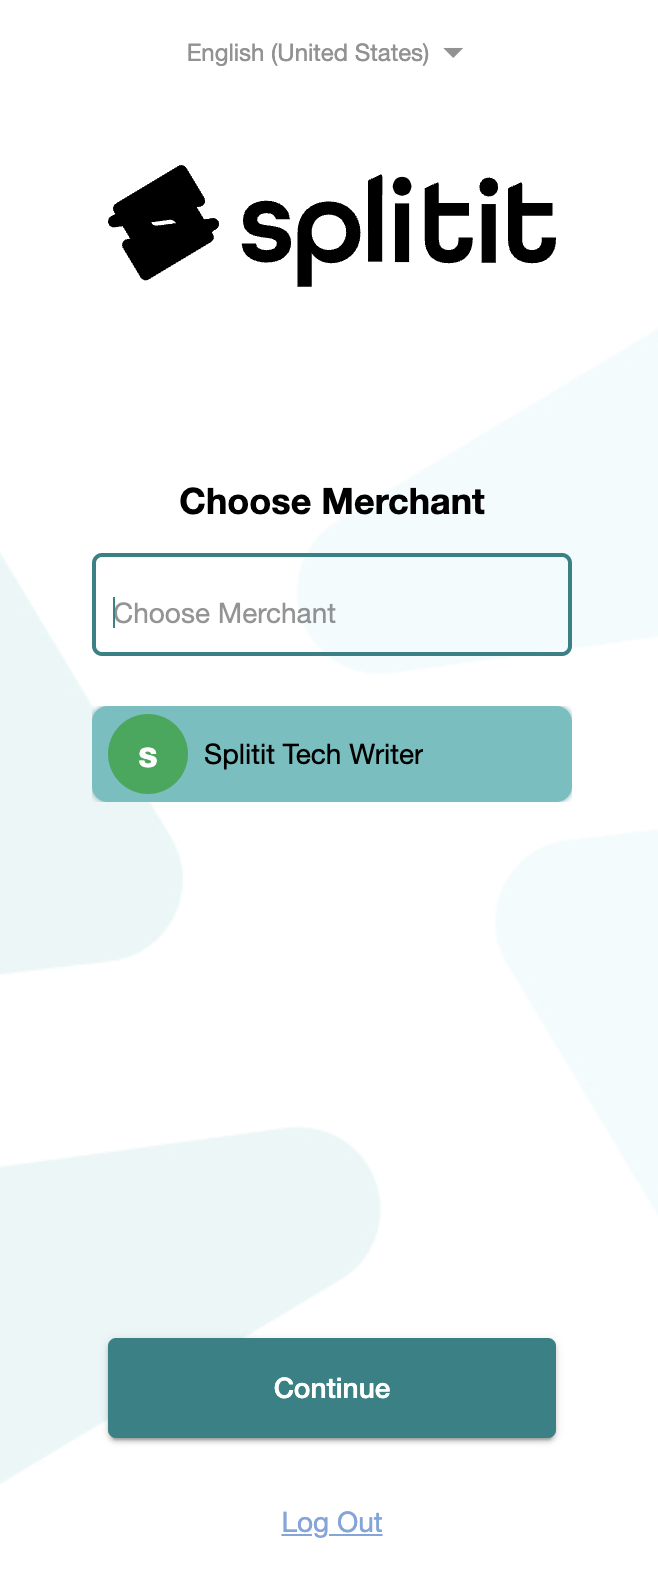
- Go to the VPOS, select New Transaction, then log in with your business account using Google or email (you can also sign up for an account here).
- (Optional) Choose the merchant associated with your email address that you’d like to use then click Continue.

Order Details
- Enter the Total Amount of the order, select a currency (if applicable), and add an Order ID Number (if applicable).

Advanced Settings
- Under Advanced Settings, you can set language for the shopper’s interface (Shopper Language).
- You can also set the Installment Options you’d like, selecting either All Default Options (which will present 2-12 payments), or Customize Options, which lets you choose the options you’d like to present with checkboxes).
- Finally, you can add a Deposit Payment amount, which will be captured immediately from the customer. This is not the first payment, rather the installments will be calculated based on the total amount less this deposit payment amount.
- When are finished, click Continue.

Plan Presentation Options
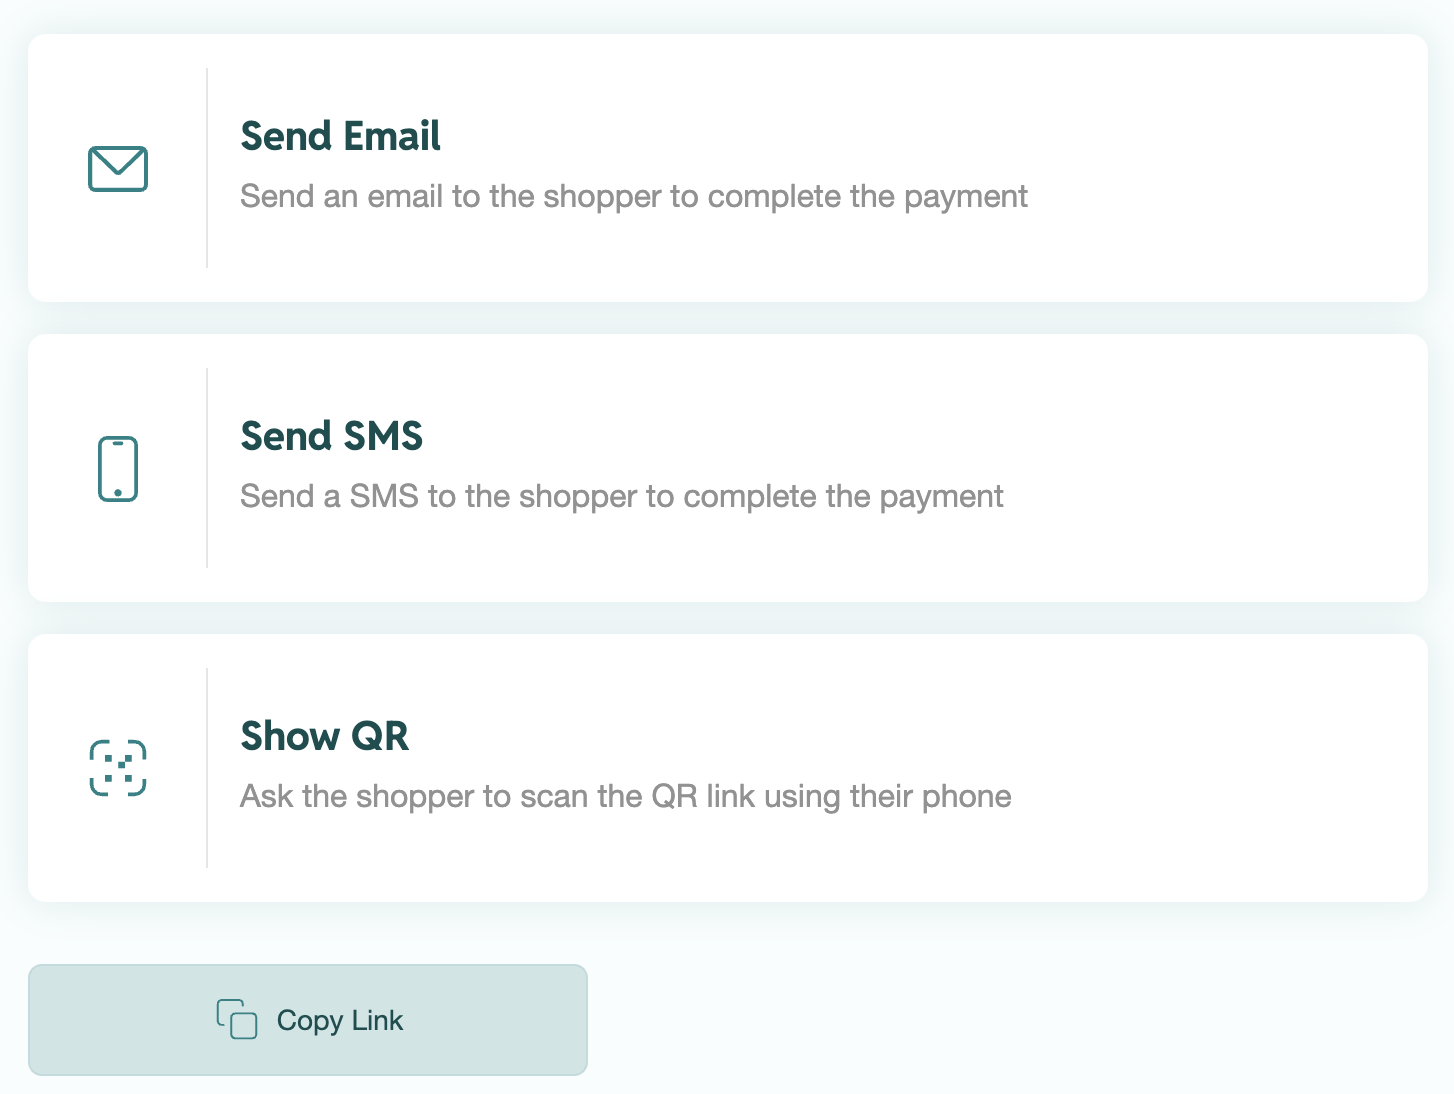
You will see five options you can use to present the installment plan options to your shopper:
- Send Email
- Enter the customer’s email address and click Send Link. You’ll be able to track Payment Status in the UI.
- Send SMS
- Enter the customer’s cellphone number to send them an SMS. You’ll be able to track Payment Status in the UI.
- Show QR
- Display a QR code that can customer can scan. After they have scanned it, click Continue to track Payment Status.
- Copy Link
- Email the customer a link they can use to check themselves out with. You’ll be able to see Payment Status in the UI.

Selling Splitit—Best Practices
For guidelines on how to best approach selling Splitit, please download and refer to the file below.