Google Pay
Shoppers can use Google Pay™ with Splitit by simply selecting a tab on Splitit’s Hosted Form Modal, a modal that overlays your site. This lets shoppers pay with cards saved in their Google accounts, which are charged by your selected Gateway (Visa, Mastercard, Amex, Discover, and UPI are accepted).
It works as follows: once the Payment Form modal has appeared, the shopper has the option of paying with Credit Card or Google Pay. When Google Pay is selected, the shopper must select the number of payments, then check the box to show that they’ve read the Terms & Conditions and Privacy Policy. Finally, they click Pay with G Pay, which opens the Google Pay UI. After checking out, control is returned to your website, at which time a success or failure page may be displayed.

Enabling Google Pay with Splitit
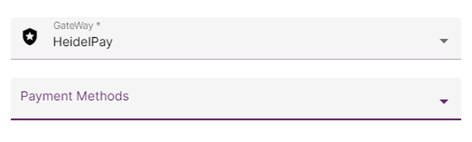
- Make sure that you are using Payment Form 3.7. You can tell if Google Pay has been activated for a specific Gateway by looking in your admin portal. If your Payment Methods field is empty, as in the image below, just credit cards are activated.
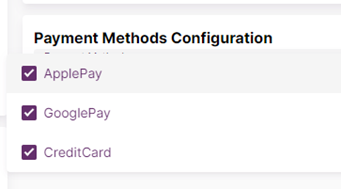
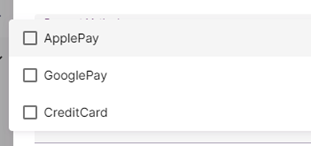
2. To add Google Pay, go to Processor Tools > Processor Settings and open the Gateway you’d like to use Google Pay with—supported Gateways are WorldPay, Adyen and Stripe. Under Payment Methods Configuration, select which methods you’d like to support, then click Save:
3. Return to your terminal’s setup. Here you need to select the options you’d like to have on your Payment Form and click Save Credentials:
4. Create a Payment Form link with the terminal and you will see your new payment options.
5. Note that your usage of Google Pay must adhere to the Google Pay APIs Acceptable Use Policy and you must be familiar with the terms in the Google Pay API Terms of Service. If you reference Google Pay anywhere on your site, please make sure that you adhere to the Google Pay Brand Guidelines.