How to Use
You can access Splitit reports either in your merchant portal or by API. If you access them in the merchant portal, you can:
View Report Data
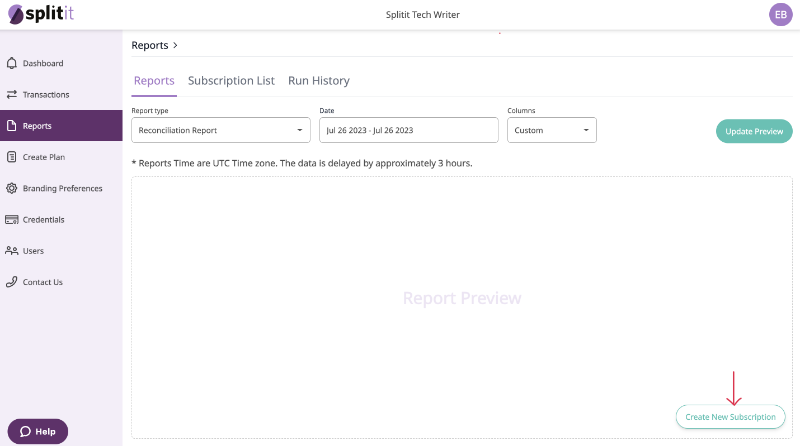
Go to your merchant portal and select Reports from the left-hand menu.
 .
.
Report Type
From the dropdown, select your desired report type (descriptions are next to each type).
 .
.
Dates
Select the desired dates for your report, using either a time frame or a calendar.
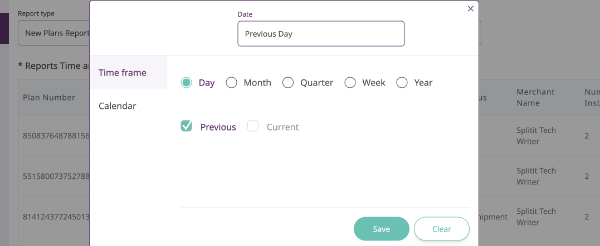
Time frame
Select a time frame, whether Day, Month, Quarter, Week or Year, and specify whether you'd like to see the Previous period or the Current one.
 .
.
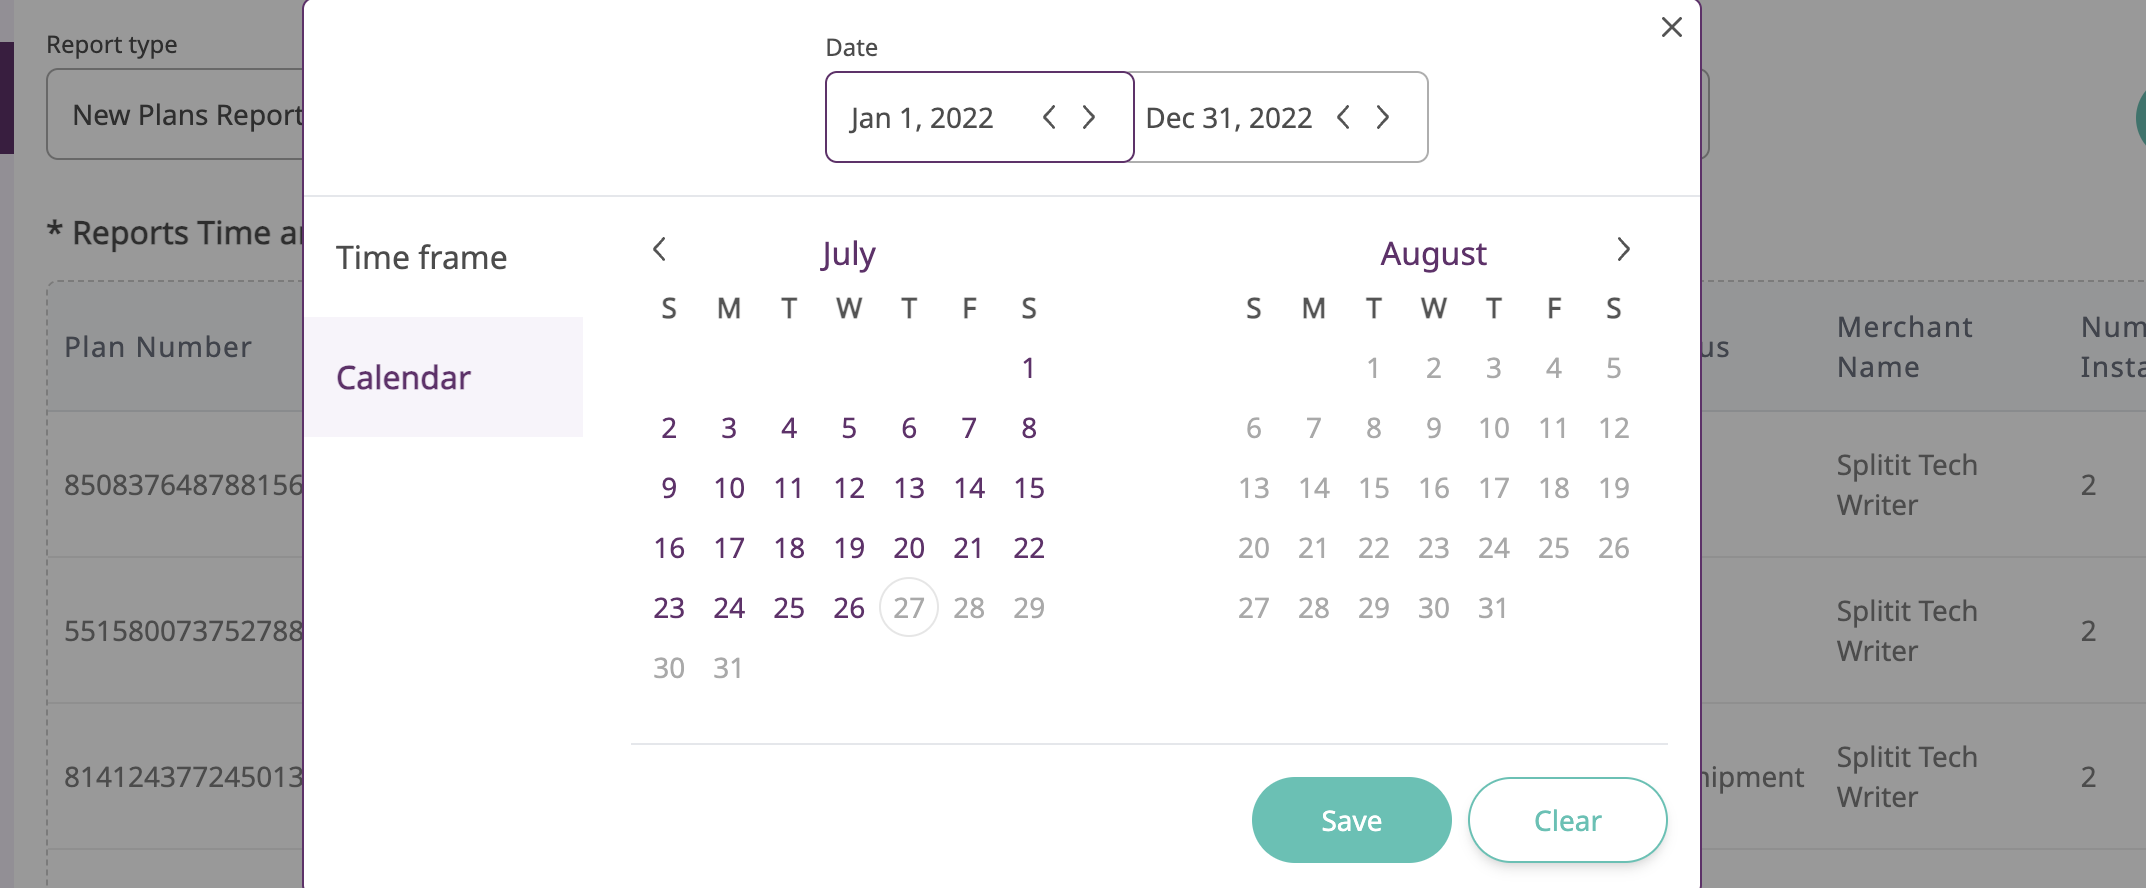
Calendar
Choose dates using either the calendars or the arrows in the picker at the top.
 .
.
After selecting your dates, click Save.
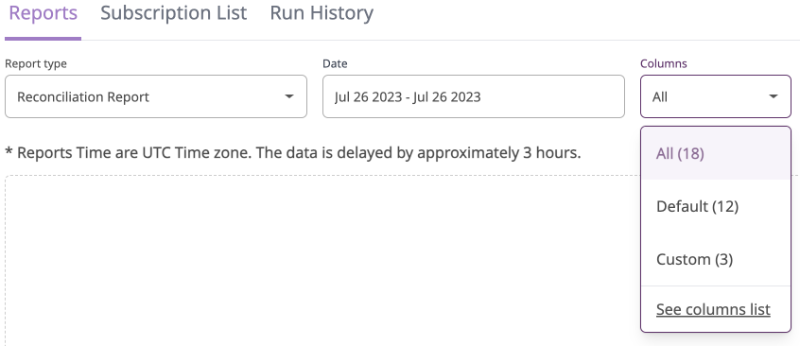
Columns
Under Columns, you can choose to display All, choose Default (a selection of the columns most people find useful), or choose the See columns list popup, which lets you set Custom.
See Columns List Popup
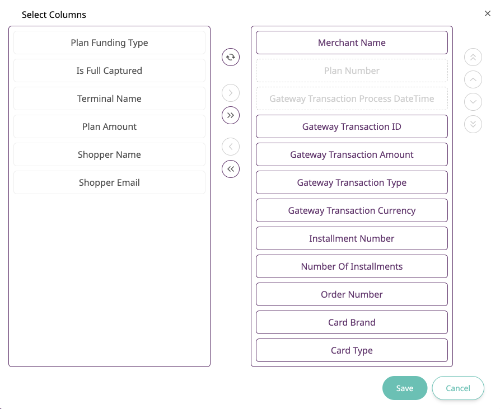
In the See Columns List popup, you can add all columns from the left (>>), or add them one at a time (>). The ⟳ symbol resets. Use the arrows on the right to change the order of the columns.
When you finished, make sure to click Save or Cancel to exit.
Finally, click Update Preview to view your data.
 .
.
Download Report Data
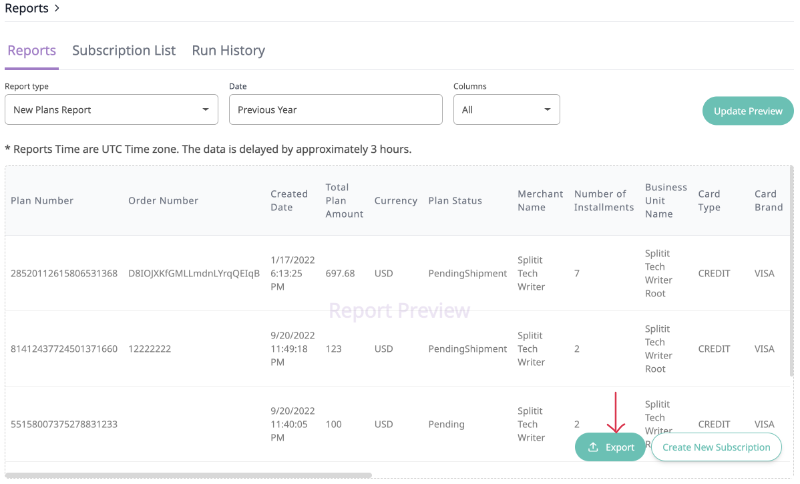
After viewing your report data, download it by selecting Export in the lower-right-hand corner.
 .
.
Choose from JSON, CSV and XLS file types, then click Download.
Subscribe to Report Data
Subscribe to report data by clicking Create New Subscription in the lower-right-hand corner of the Reports section in your merchant portal.
 .
.
- Give your subscription a memorable name and make sure the Enabled subscription box is checked. You can also choose whether to receive reports with no data for accounting purposes, by selecting Send email with empty data.
 .
.
- Specify your desired report type, date (time frame of data), and columns. If you previously selected these in View Report Data, they will be carried over.

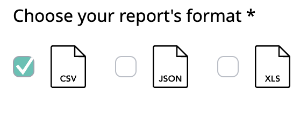
- Specify your desired file format, CSV, JSON or XLS.
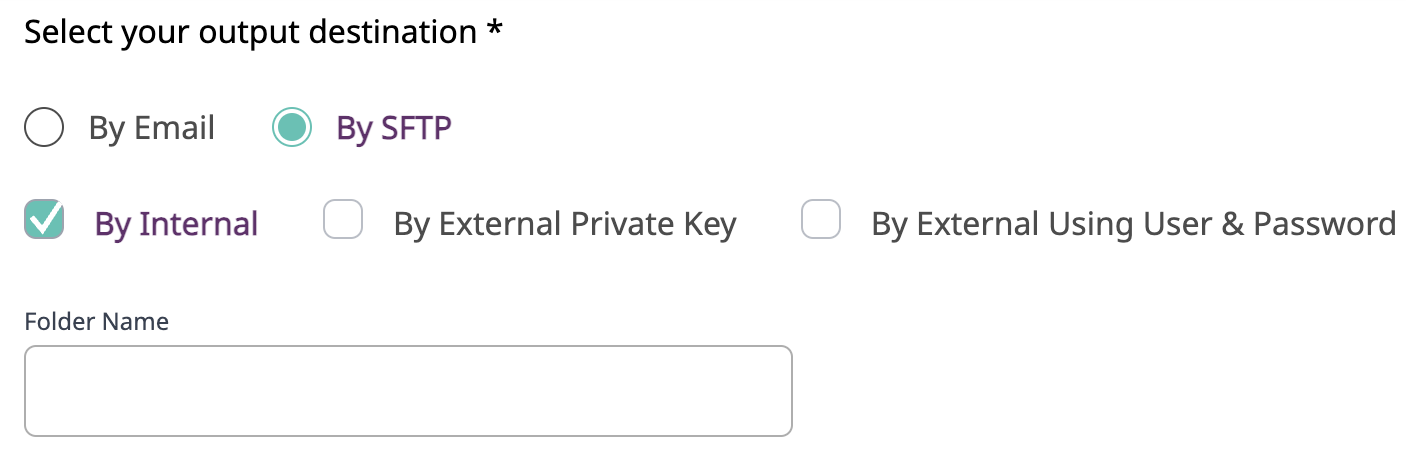
- Set your sending protocol, either email or SFTP, and set the corresponding parameters for the protocol (i.e., folder name and authentication for SFTP or desired email address).
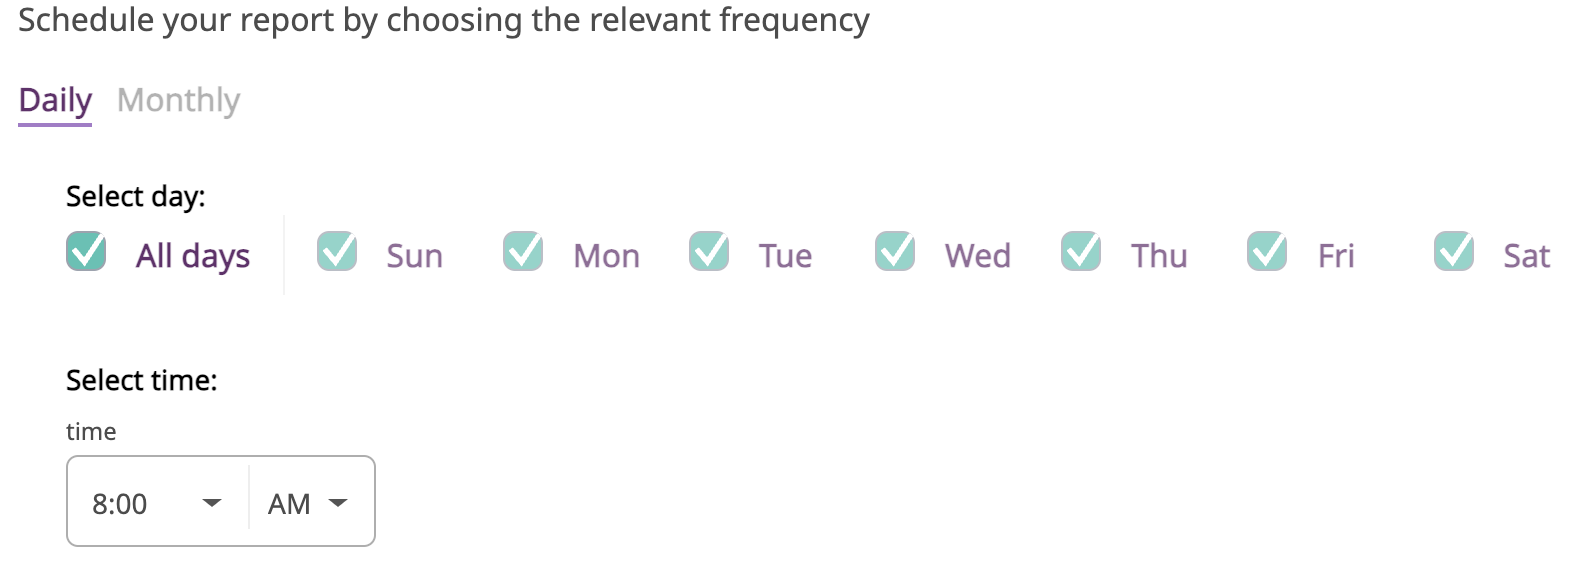
- Finally, schedule the frequency of your report as well as the sending day and time. You can choose to have reports sent daily or monthly. For daily reports, you can specify the day of the week and time you'd like them sent, or you can specify that they be sent every day at a specific time. For monthly reports, you can specify the day of the month and the time.
- Click Subscribe to your report at the bottom-right corner of the window.
 .
.
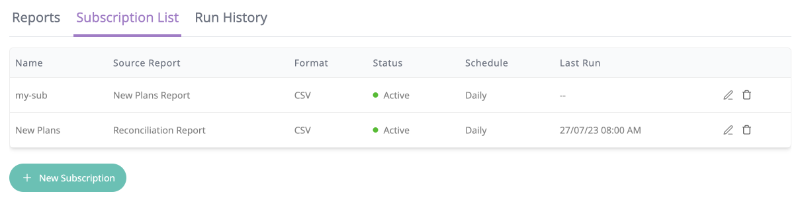
Subscription Lists
Access a list of your current report subscriptions under the Subscription List tab. You can monitor a subscription's status, edit it (pencil icon), or delete it (trash icon).
 .
.
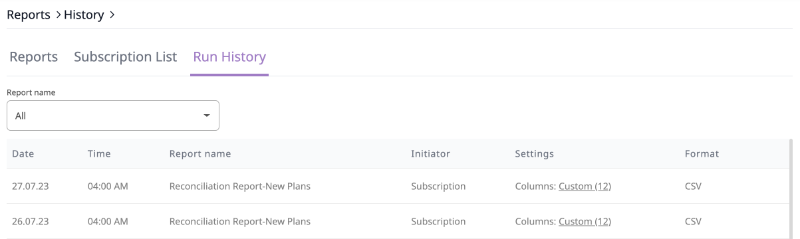
Run History
Under Run History, view a list of the various reports you have requested.
 .
.
Example Data Files
See Reports Examples.